
This is the original draft of a KB article written for the Lenovo forums. It may be old news, but I’ve only recently come across it. There are likely other ways to do this using the ISO instead of the .exe – perhaps grub2 + loop-mounting, grub2 + memdisk, geteltorito – but this is the “official” Lenovo approach.
Full disclosure: I haven’t yet actually had occasion to build the flash drive and test the BIOS update process.
Traditionally, ThinkPad BIOS updates have been provided for download in two formats: a Windows .exe installer, and an ISO that can be used to create a bootable CD. The CD version was useful for those who aren’t running a Windows OS, or who have a damaged main drive or OS that won’t boot.
These days, an optical drive is becoming a rarity – requiring the use of an external drive. Fortunately, with recent ThinkPad BIOS updates using a bootable flash drive has become an option. The instructions and tools are included in the Windows .exe. It’s necessary to run the 1st stage of the install to access them, so a Windows PC or virtual machine is required.
We’ll use a 1st generation X1 Yoga BIOS in this example. Be sure to use a BIOS .exe that matches your laptop model, not the one in this example.
The first step is to download the .exe for the BIOS installer desired. Start with the Lenovo main support page https://support.lenovo.com/us/en enter your laptop model in the search box, select the appropriate model from the list offered, navigate the Drivers and Software link to the BIOS download.
The way the .exe is built it’s necessary to run the first stage of the install to be able to access the contained files.
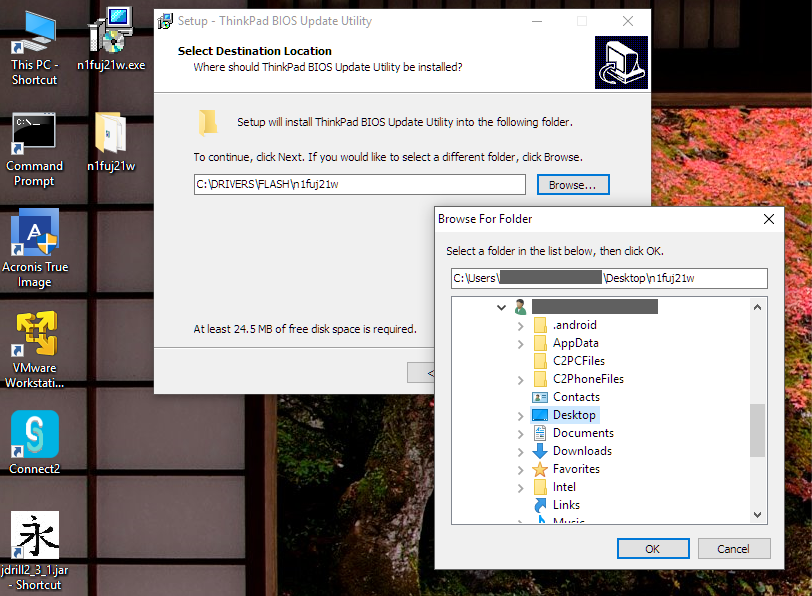
Locate the downloaded .exe and run it. You’ll be offered a target folder and the option to browse for a target folder of your choosing. Make a note of where the driver files are going and proceed.
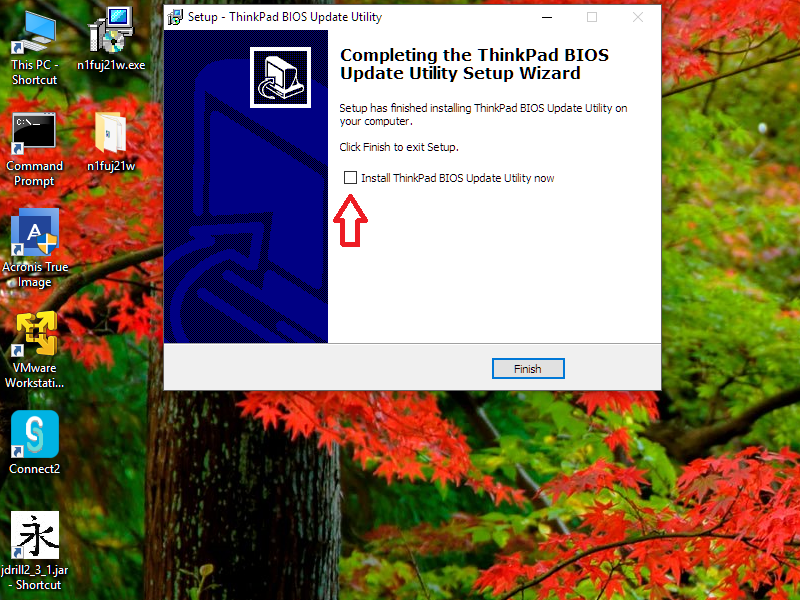
The next phase of the process will ask to actually install the BIOS on the current PC or virtual machine. Don’t let it. Un-check the “Install ThinkPad BIOS Update Utility Now” check box and click Finish.
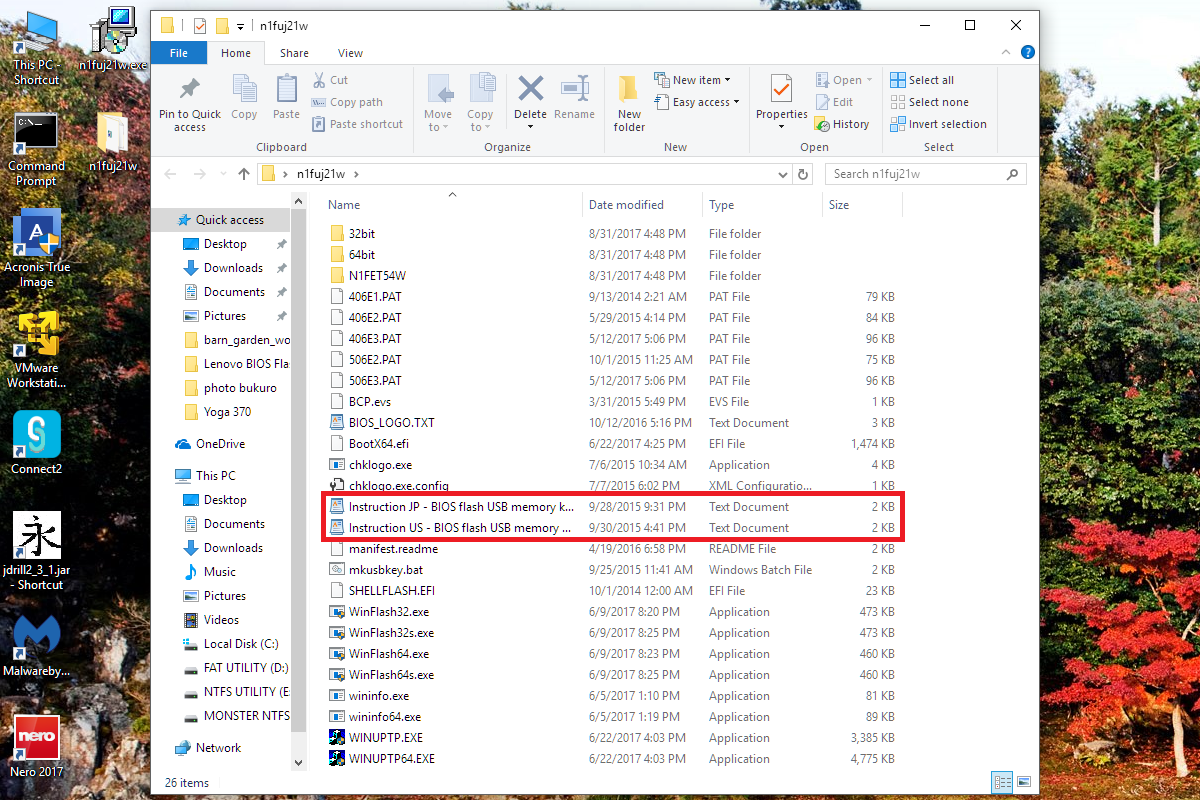
Now you can navigate to the installer files. You should see something like the below. Read and follow the instructions.
Good news !
Tested. Ok. Fine.
But I can’t understand why it seems to be so hard to find that news on Lenovo’s website and why Lenovo did not create a simple Bios USB file…
Thanks a lot.
Claude.
I’m looking for a solution like this one, but in my /FLASH/ folder, I’m missing the two instructions files you’re showing.
For me it’s the last X250 Bios update.
Have you a link to the official Lenovo news ? or the text of the instructions ?
Thank a lot.
I just looked at the latest X250 BIOS and it appears to predate when Lenovo started including the flash-building tools.
You’ll need to use the CD ISO and an external optical drive or build a flash drive using something like the below. I haven’t verified these.
https://forums.lenovo.com/t5/Linux-Discussion-Knowledge-Base/Updating-the-BIOS-via-USB-X220-s-running-Linux/ta-p/674677
https://workaround.org/article/updating-the-bios-on-lenovo-laptops-from-linux-using-a-usb-flash-stick/
It ‘s 2019 and these instructions finally allowed me to create a bootable usb for updating my bios on my Lenovo p51. It recently quit booting (windows stop code was generating multiple messages) and since it was bricked anyway, I thought why not update the bios since mine was from 2017.
These instructions were PERFECT. Thanks again for taking the time to write these out.
Same here, and it’s 2020.
Your guidance saved me from a severe headache and I was able to update my Lenovo p51 BIOS.
Thank you!!