
High DPI Displays and Scaling
This UHD OLED display is gorgeous, but high dpi displays present challenges for some software – both within Windows and when booted stand-alone. Things can be tiny to the point of being unreadable. Some work-arounds, fixes… and failures…
Boot time smallness:
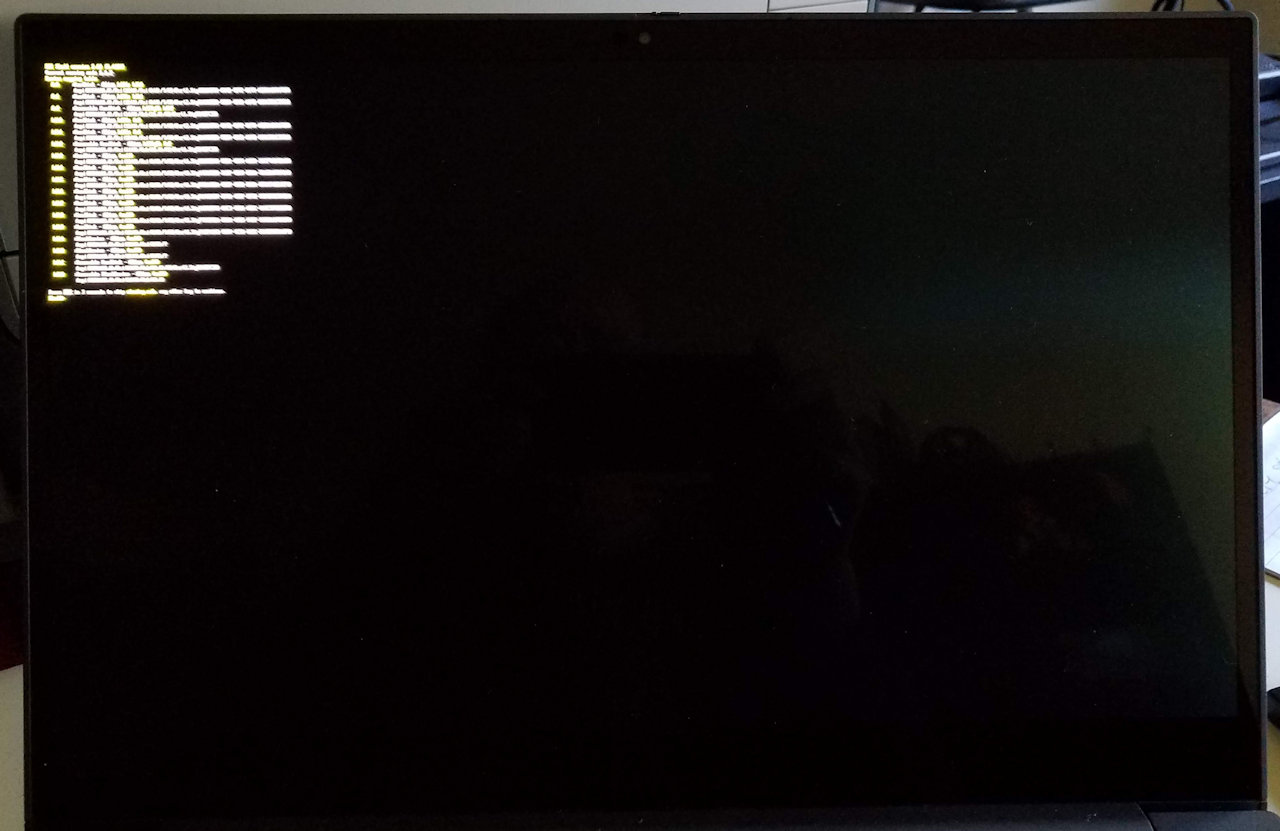
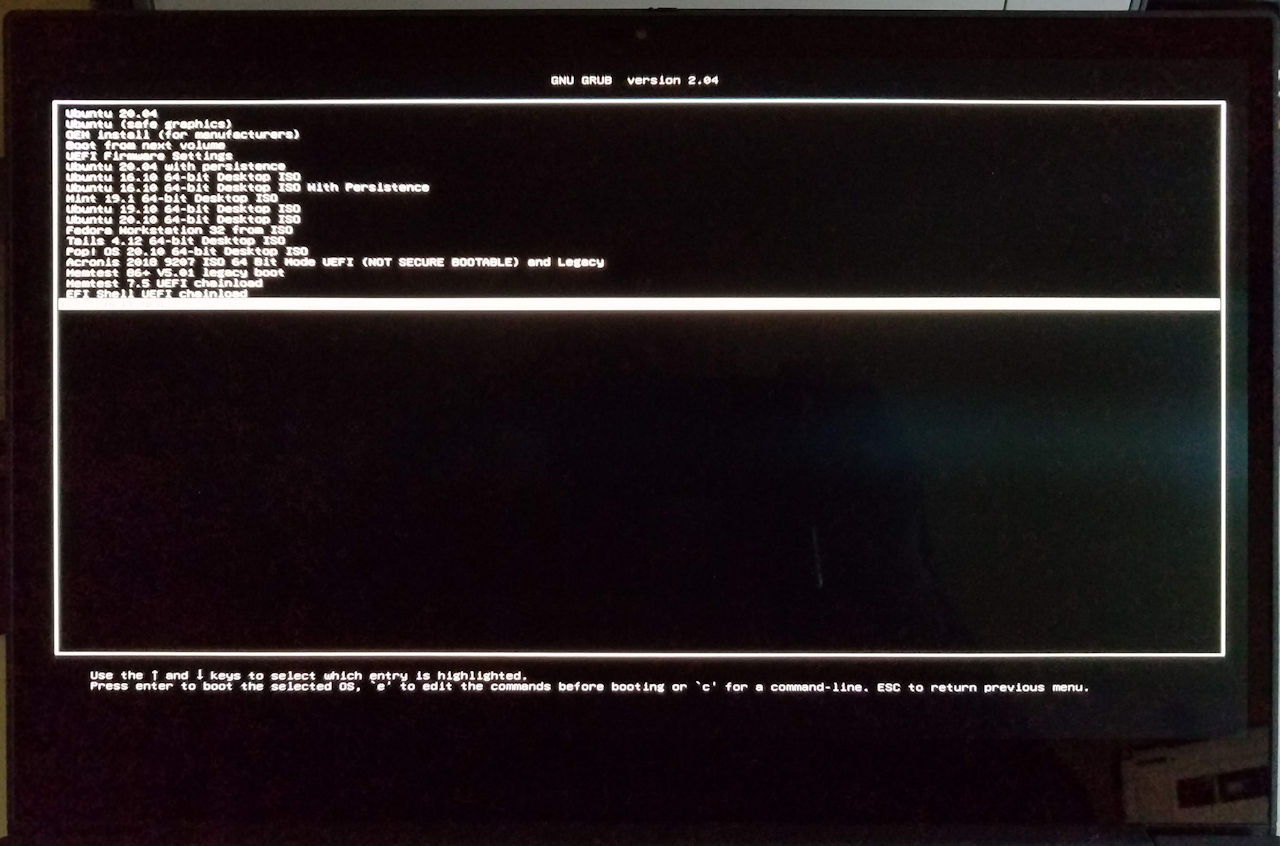
Some examples of stand-alone or boot-time issues. Apologies for the truly horrible photos, the phone cam refuses to focus on a black screen 🙁 Grub2 menu when booting one of my external multi-boot drives or the “live” Linux on the 2nd SSD (more about that later):
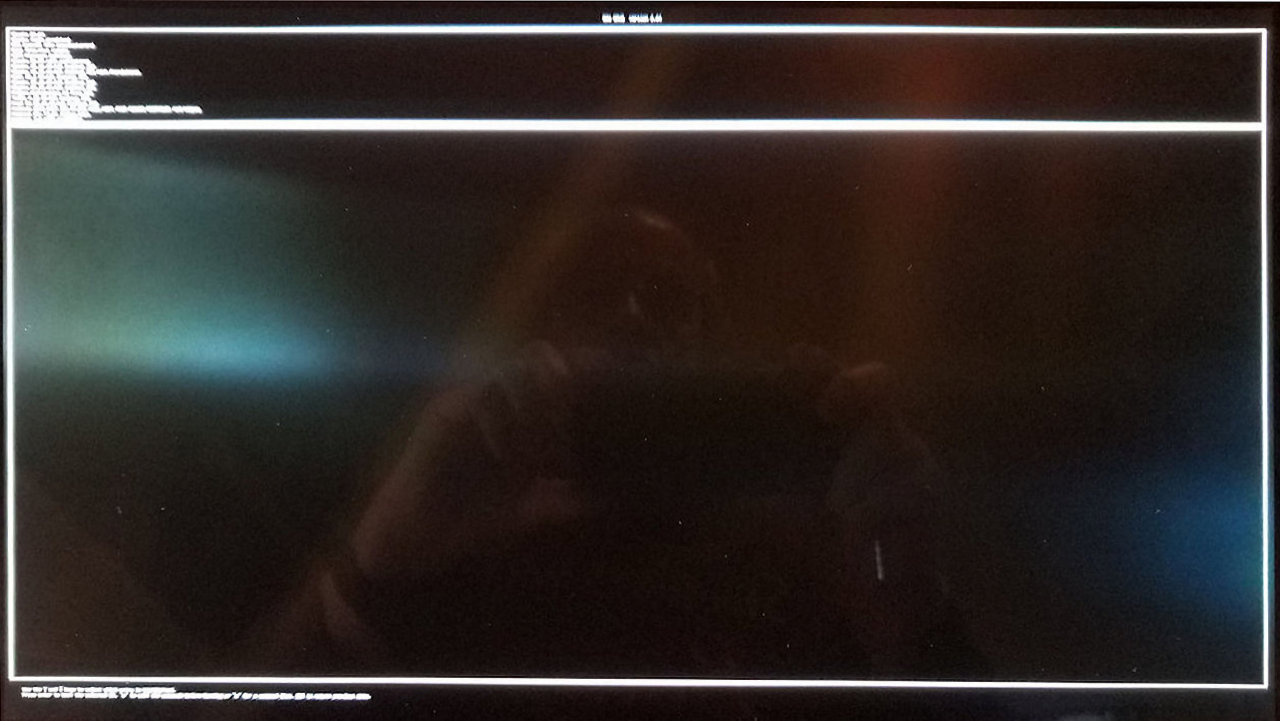
ThinkPad P1 Gen 2 Tiny External Grub Menu
Grub menu when booting Fedora Workstation dual-booted with Windows on the 1st SSD:
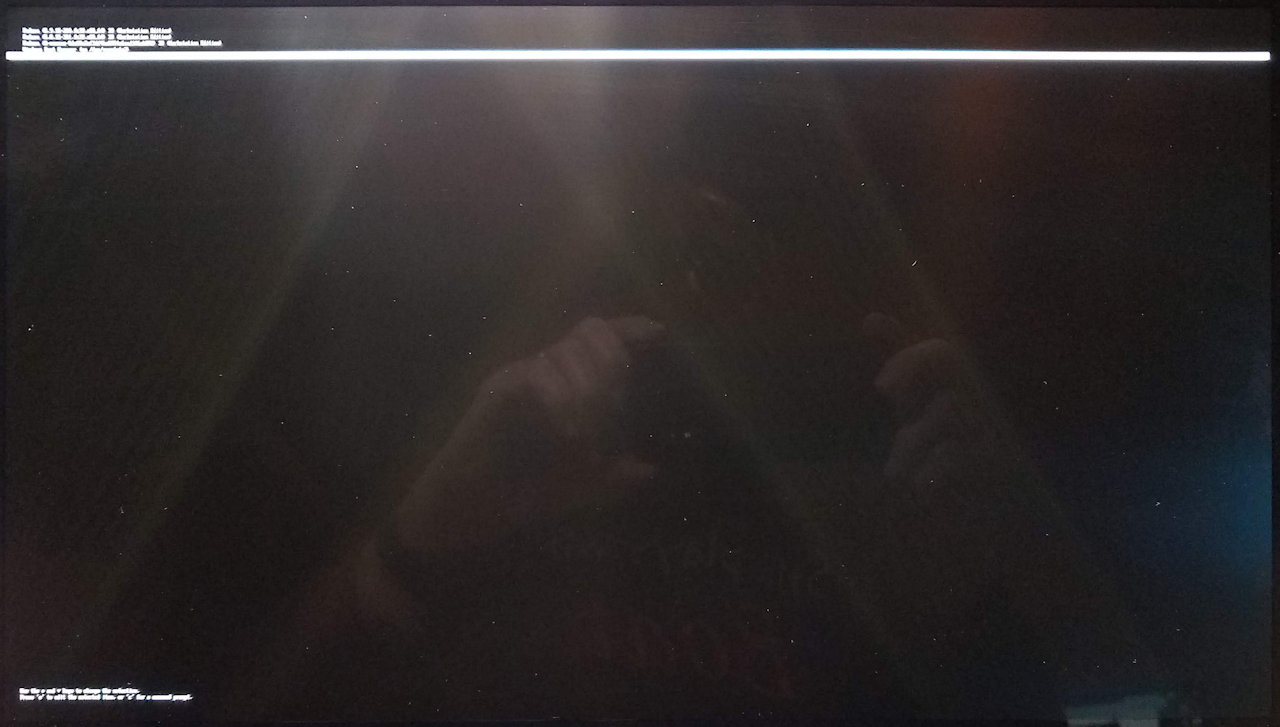
ThinkPad P1 Gen 2 Tiny Fedora Grub Menu
Fedora boot-time messages:
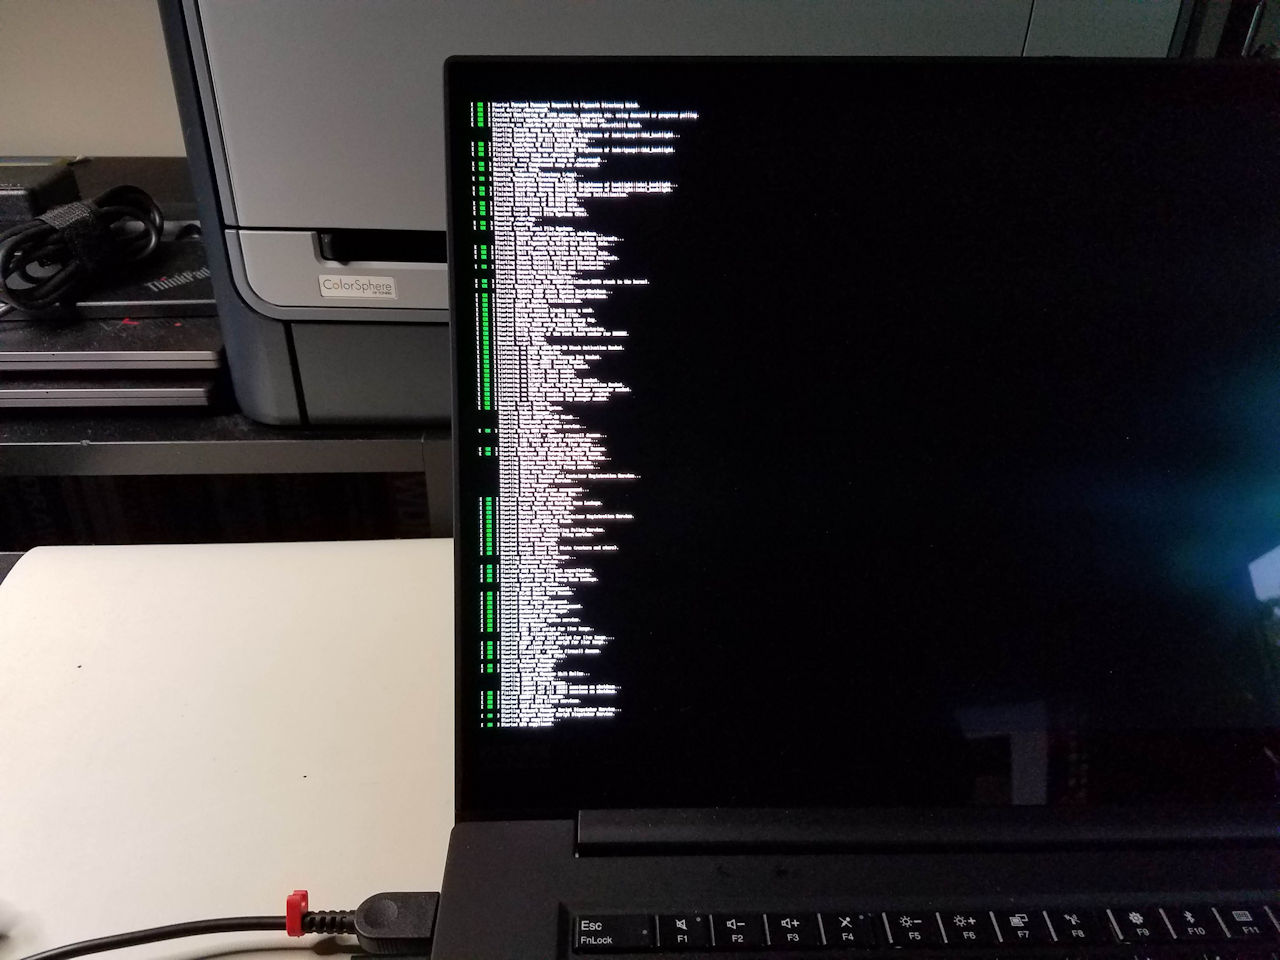
ThinkPad P1 Gen 2 Fedora Boot Messages
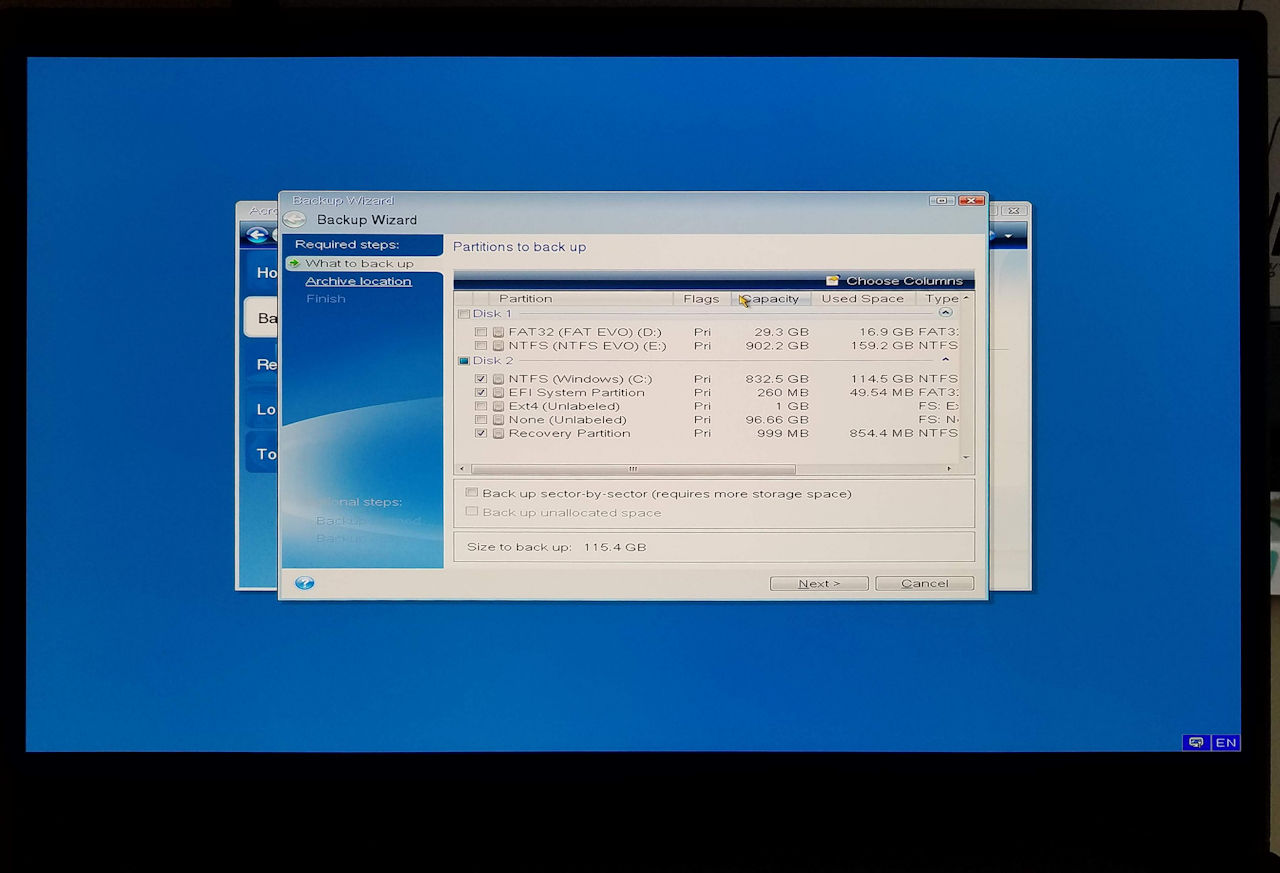
Acronis True Image booted via grub2 on external drive or 2nd SSD:
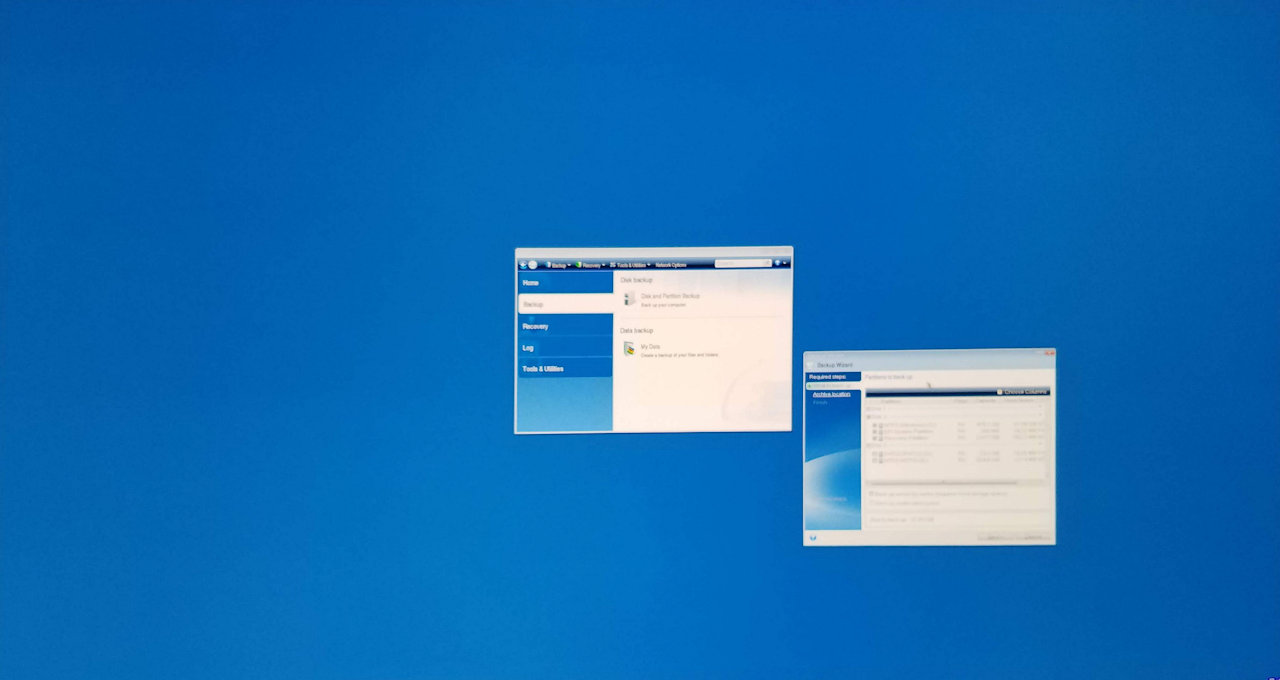
ThinkPad P1 Gen 2 Tiny Acronis
EFI Shell booted via grub2 on external drive or 2nd SSD:
ThinkPad P1 Gen 2 Tiny EFI Shell
You get the picture – things are very small and difficult to use. Even though I’m near-sighted and can manage if I remove my specs (or don’t have contacts in) I’m not sure I want to risk trying to use the EFI shell when it’s this hard to read. Could do some serious damage.
The work-around (not quite a fix) is to edit the grub configuration file. Remove the “auto” gfx mode and select one of the available graphics resolutions that makes things readable but doesn’t make them too large. This works for both my external drives and the live “install” on the 2nd SSD and is one of the handy things about that kind of setup. It can be conveniently edited from Windows. I’ll leave the external drive as-is since it may well be used on other machines.
NOTE that while it’s possible to hand edit the grub configuration for the Fedora Workstation dual booted with Windows on the primary drive, it’s generally considered bad form. Grub changes are intended to be made from within the running, installed Linux using tools provided. I’ll leave it tiny for now since all I want it to do is boot Fedora. No need to actually do anything when the grub menu shows up but wait a few seconds.
To determine available resolution choices, when the grub boot menu shows up type a “c” (without the quotes) to get a command prompt. Enter “videoinfo” ( “vbeinfo” in earlier grub2 versions):
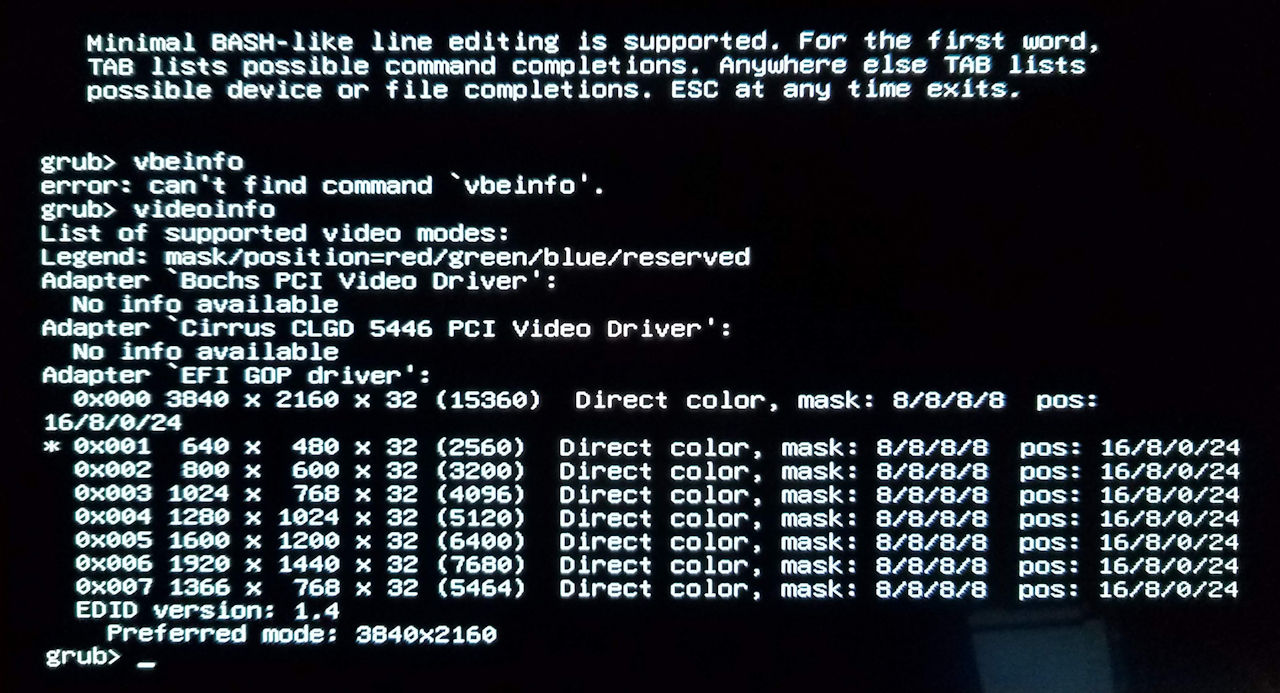
ThinkPad P1 Gen 2 Grub Video Modes Supported
“ESC” key to get back to the menu, boot your preferred OS and editor, and make the modification. <root of drive or partition>/boot/grub/grub.cfg. “auto” commented out, active choice “uncommented”- showing only the top of the configuration file here:
# Ubuntu 20.04

if loadfont /boot/grub/font.pf2 ; then
# set gfxmode=auto
set gfxmode=1280x1024
insmod efi_gop
insmod efi_uga
insmod gfxterm
terminal_output gfxterm

# try to work around ISO loop boot problem
rmmod tpm

fi

set menu_color_normal=white/black
set menu_color_highlight=black/light-gray

set timeout=5
menuentry "Ubuntu 20.04" {
set gfxpayload=keep
linux /casper/vmlinuz file=/cdrom/preseed/ubuntu.seed maybe-ubiquity quiet splash ---
initrd /casper/initrd
}
menuentry "Ubuntu (safe graphics)" {
set gfxpayload=keep
linux /casper/vmlinuz file=/cdrom/preseed/ubuntu.seed maybe-ubiquity quiet splash nomodeset ---
initrd /casper/initrd
}

...
[Update 2024.02.11] Linux is a constantly moving target. The font size hack is a bit different for the grub2 configuration used by Ubuntu 23.10. The modified grub.cfg looks like this:
...

# loadfont unicode

if loadfont /boot/grub/fonts/unicode.pf2 ; then
# set gfxmode=auto
set gfxmode=1280x1024
insmod efi_gop
insmod efi_uga
insmod gfxterm
terminal_output gfxterm
fi

...
The chosen mode seems to persist for software that doesn’t attempt to change resolutions. The grub menu is usable now, as is Acronis. Unfortunately any change from “auto” results in a black screen when trying to use the EFI Shell. Don’t have a fix for that 🙁
ThinkPad P1 Gen 2 Grub Video Mode Selected
ThinkPad P1 Gen 2 Acronis Video Mode Selected
Installed software shrinkage:
Similar problems when some software is running within Windows. Generally the “window decoration” for virtual machines is OK, but the contents are not – since they aren’t high dpi aware. Modern – recent versions of – operating systems seem able to handle high dpi displays fairly well. Windows 10, and in my testing Ubuntu and Fedora Linux do pretty well. They all have resolution and scaling options that do a decent job with this UHD screen.
Some of the apps that run within Windows, or the OSen that run in the apps have problems. I have a collection of old and new virtual machines that run under VMWare Workstation Player, and they were challenging to make work reasonably well (by that I mean readably well). The VM host software scales in Windows OK. Window “decoration” like menu bars, for example, are readable. The VM client itself – no so much.
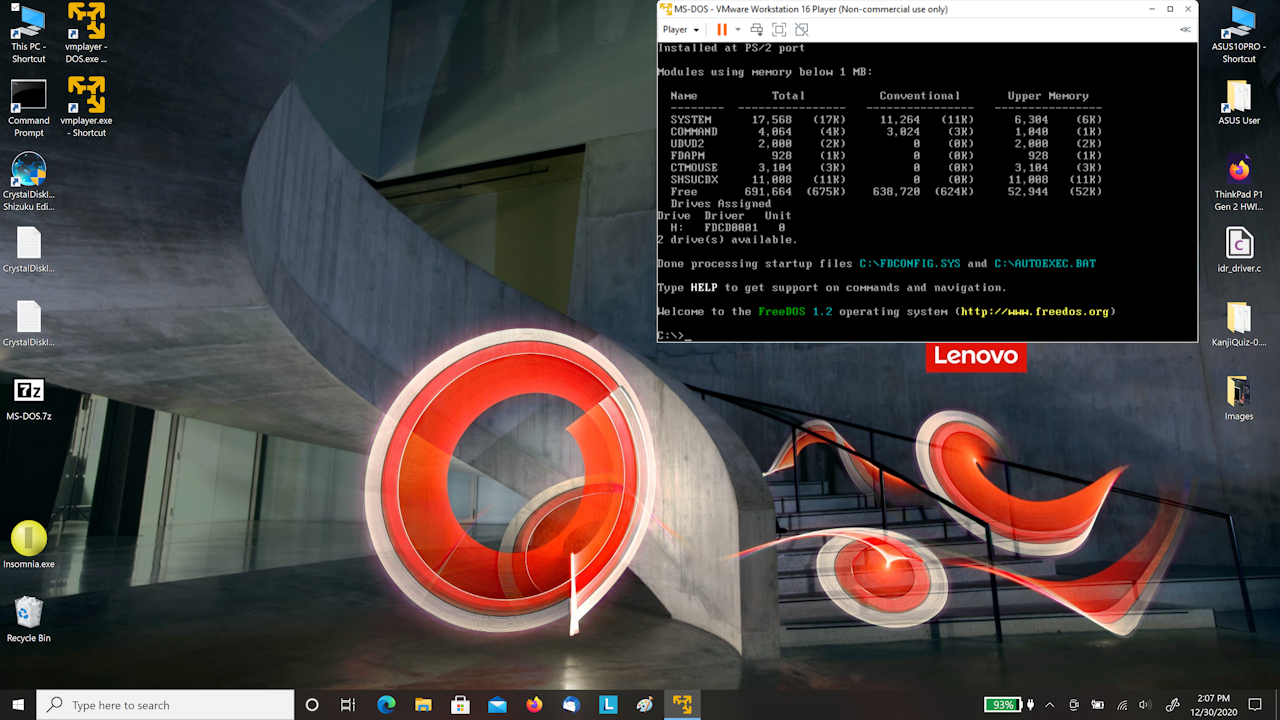
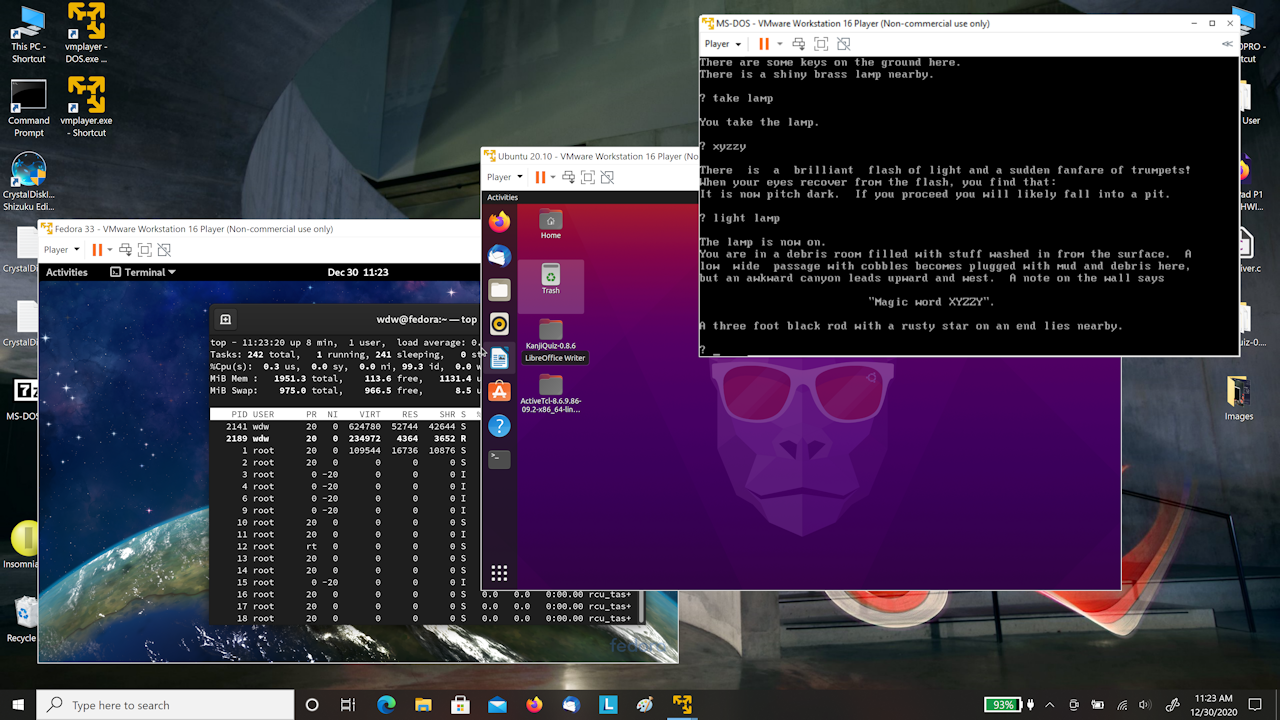
My idea of gaming is text mode on a monochrome amber display, or maybe a teletype, so first priority: get a copy of Colossal Cave/Adventure running in FreeDOS in a VM. This is serious stuff 😉 Downloaded the FreeDOS iso, built a VM per these instructions, downloaded the Adventure 4 DOS exe, created a floppy image using WinImage, connected that to the DOS VM, copied the data and exe files, and away we went…but…
ThinkPad P1 Gen 2 Virtual Machine DOS No DPI Override
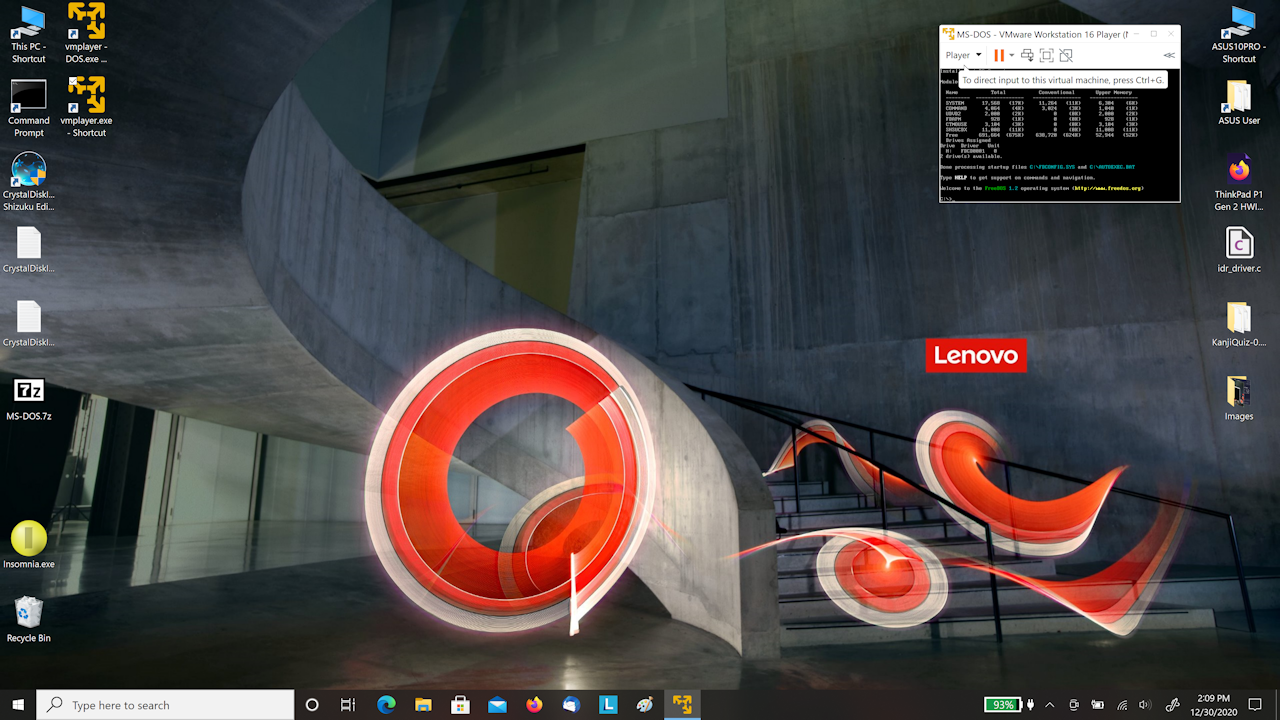
Did some digging and found a fix for this: access vmplayer.exe -> Properties -> Compatibility -> Change high DPI settings and enable high dpi override, set Scaling performed by System Enhanced. Hey presto:
ThinkPad P1 Gen 2 Virtual Machine DOS DPI Override
Unfortunately, there’s a serious side effect. Doing this renders the mouse unusable within the VM. Not unavailable – just massively unstable. That means that other VMs that require a GUI interface – most of them, like Fedora and Ubuntu, pretty much any OS – are unusable.
On a lark, tried this: created a copy of the vmplayer exe with a different name. Changed the DPI override for that exe only. Works 🙂 VMWare Workstation Player is one of those programs that can have multiple instances running at the same time, or this wouldn’t work. I created shortcut launchers to both exe files for convenience.
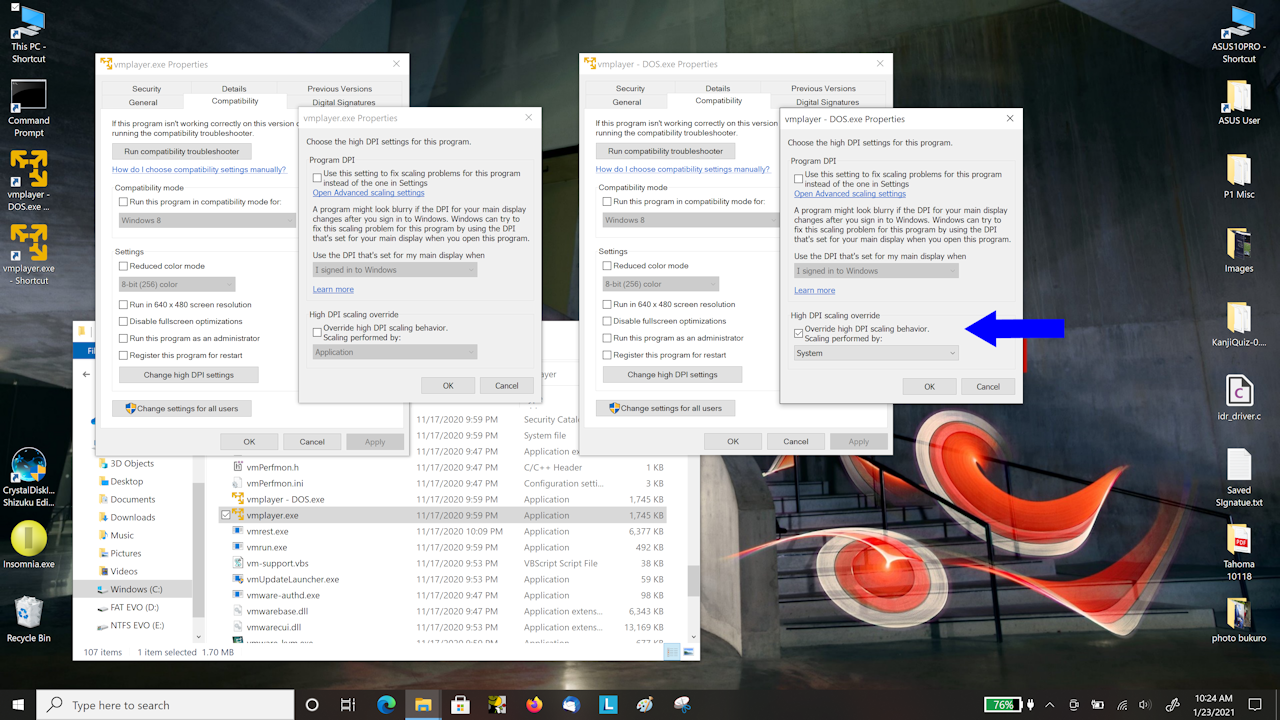
ThinkPad P1 Gen 2 DPI Scaling Override
GUI-enabled VMs can still be troublesome but thankfully the latest Ubuntu and Fedora Workstation versions have scaling options (also useful in bare-metal installs). The initial login screens are still small but once the OS is up and the resolution and scaling options selected they are usable.
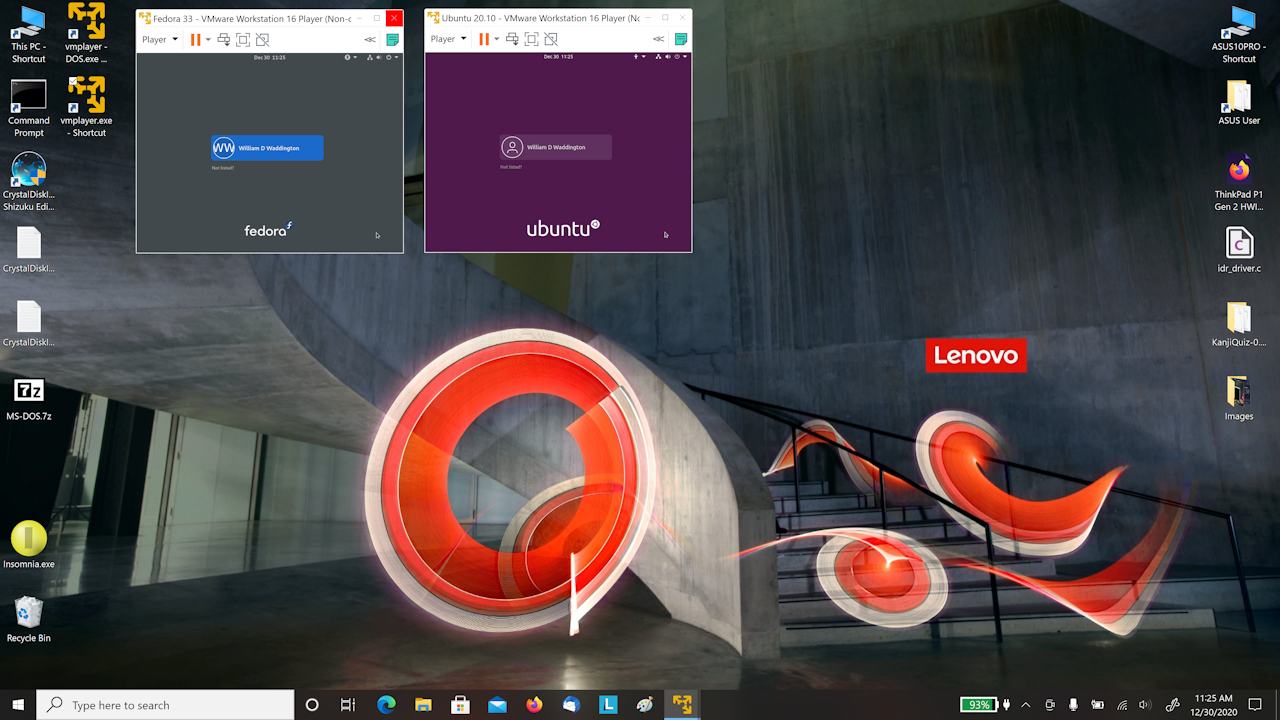
ThinkPad P1 Gen 2 Virtual Machines Tiny Login Screens
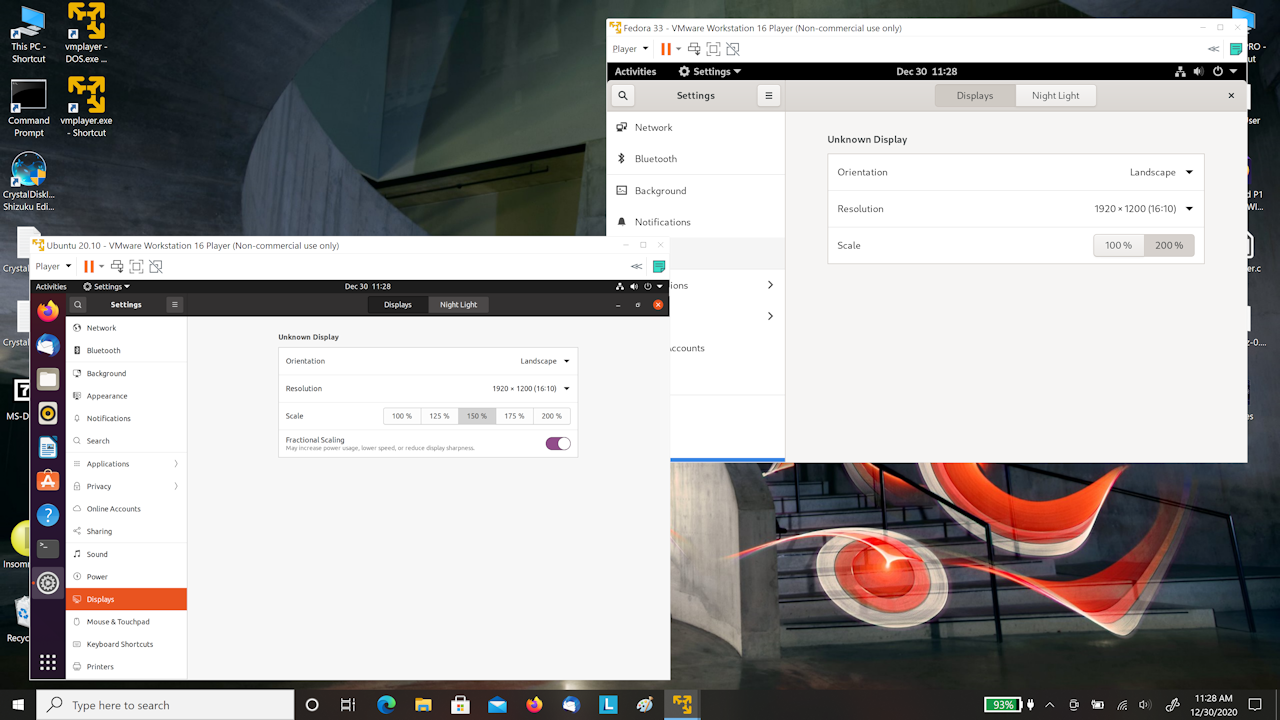
ThinkPad P1 Gen 2 Virtual Machines Scaling Options
ThinkPad P1 Gen 2 Mixed vmplayer.exe DPI Settings 3 VMs
NOTE: of course, a temporary, it-has-to-be-usable-right-now solution is to toggle the laptop monitor to a lower resolution. That’s quick and easy these days and if the troublesome application is the only thing running, not too bad a work-around. If there are multiple things on screen, not so much…