
Linux - Bare Metal Install
This is going to look nearly identical to the process described in my X1 Yoga Gen 5 article.
That install was Fedora Workstation 32, this is 33. The P1 has two SSDs installed and back in the day I’d have done the Fedora install on the 2nd drive. These days dual booting on a single drive has become very easy, and I’m reserving the 2nd drive for extended capacity (in an NTFS partition) and putting a “live” Ubuntu there in a FAT32 partition – Linux – Barely Installed
A note about dual booting, or booting anything other than Windows: Windows 10 shutdown is more like hibernation. It isn’t safe to modify hardware or software parameters in that state, so booting an alternate OS or device isn’t possible on normal startup. To access the boot menu or BIOS configuration either do a restart or SHIFT+shutdown. The subsequent startup can be interrupted by any of several keys to allow access to the boot device list or BIOS. I tend to use F12 for most anything since it presents the boot menu and other options. If one wants to frequently boot the alternate OS or external devices it’s probably easiest to just turn off Fast Startup in Windows. Once that is done, any startup can be interrupted safely. From the X1YG5 article:
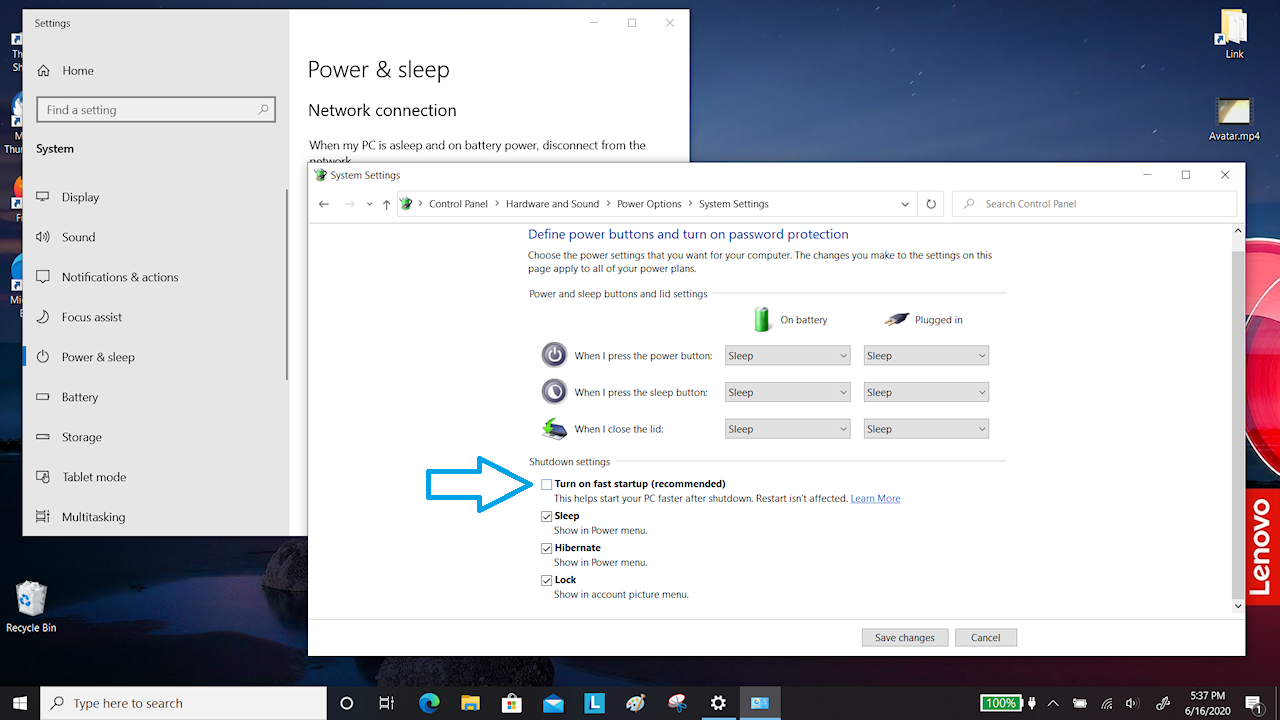
ThinkPad X1 Yoga Gen 5 Turn Off Fast Startup in Windows
Please note that some of the screenshots below were taken during a first install on the original SSD – the 512GB drive. Some are from a later install after the Samsung 1TB drives were installed. There may be mismatches between partition and drive sizes, but the procedures will be the same. Space will have to be made available on the primary SSD for the Fedora install. This can be done in Windows Disk Management using the shrink volume option, or as I did, later during the actual Fedora installation. (Screen grab borrowed from my X1 Yoga Gen 1):
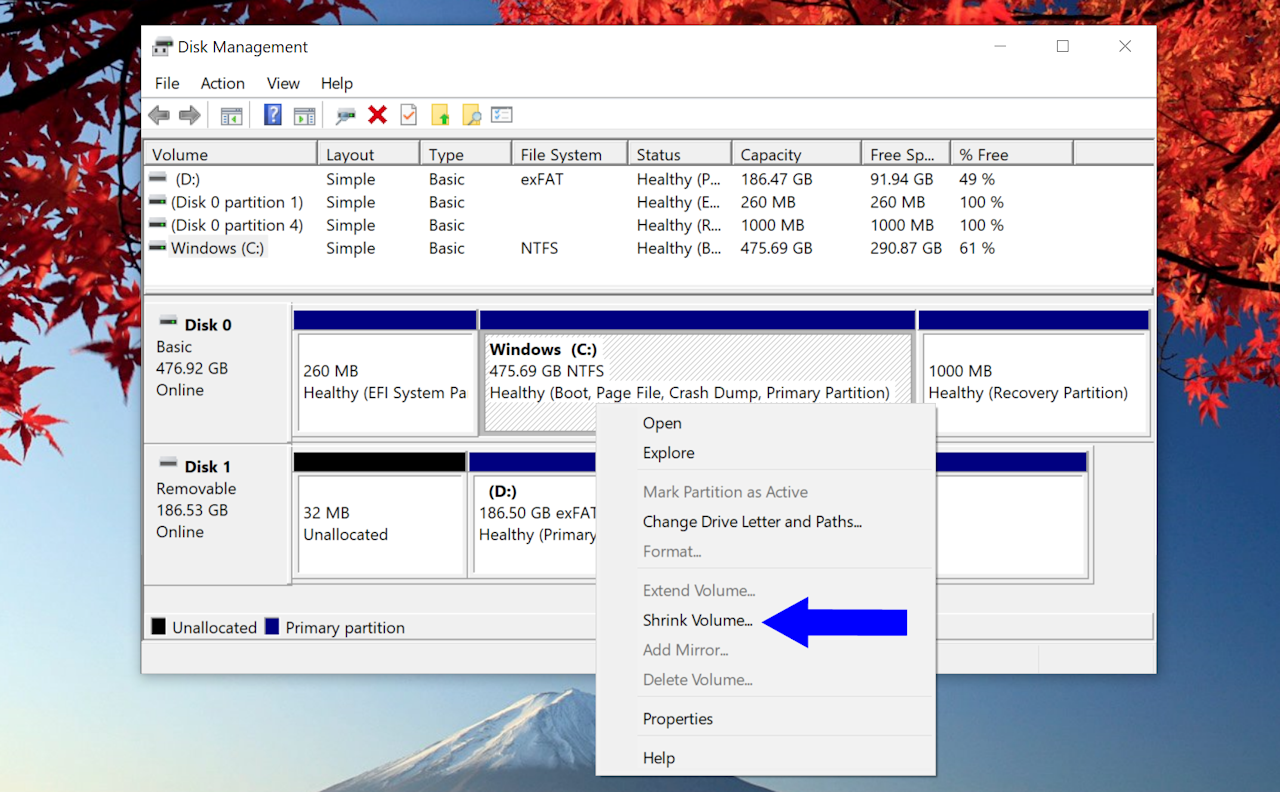
ThinkPad X1 Yoga Gen 1 Disk Management Shrink Volume
Before making space or booting the install media it’s a good idea to have recovery media available in case things get sideways. Downloaded or user-created recovery media to return to as-shipped (more or less) state, or a full backup. I had all three: Lenovo image downloaded, local recovery media created, and an Acronis backup. Make that all four – also have a clean Microsoft Windows 10 install ISO.
Boot the Fedora install media – in this case an ADATA USB 3.0 flash drive created with the Fedora media builder for Windows. Could also have used a FAT32 drive if prepped as here Fiddling with Fedora Live or a loop mounted ISO on one of my Turbo “Swiss Army” external drives.
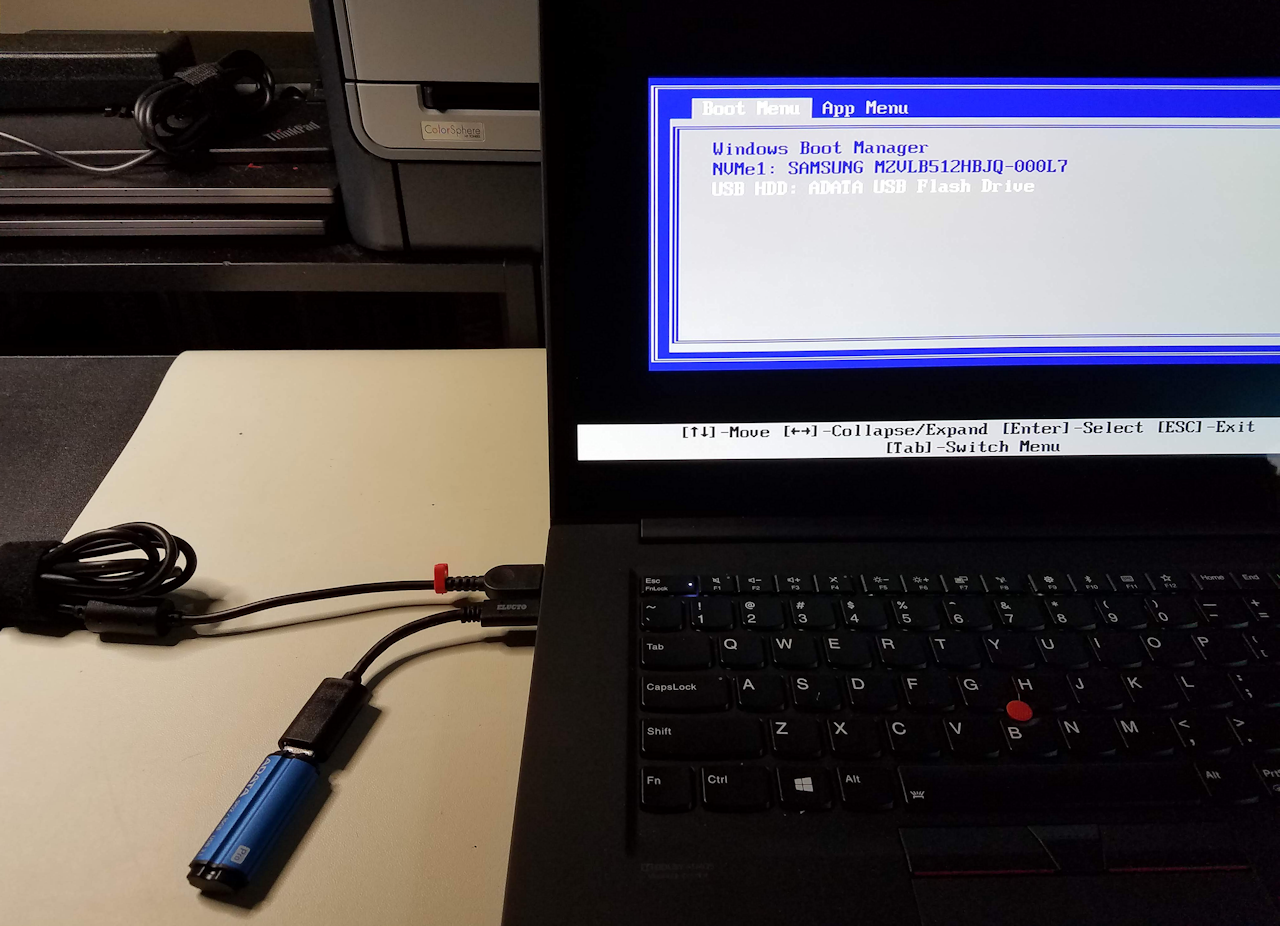
ThinkPad P1 Gen 2 Fedora Flash Boot
That will bring up the (tiny) live grub2 menu. The top entry (the default) will boot Fedora with the Try/Install options displayed. Select the latter…
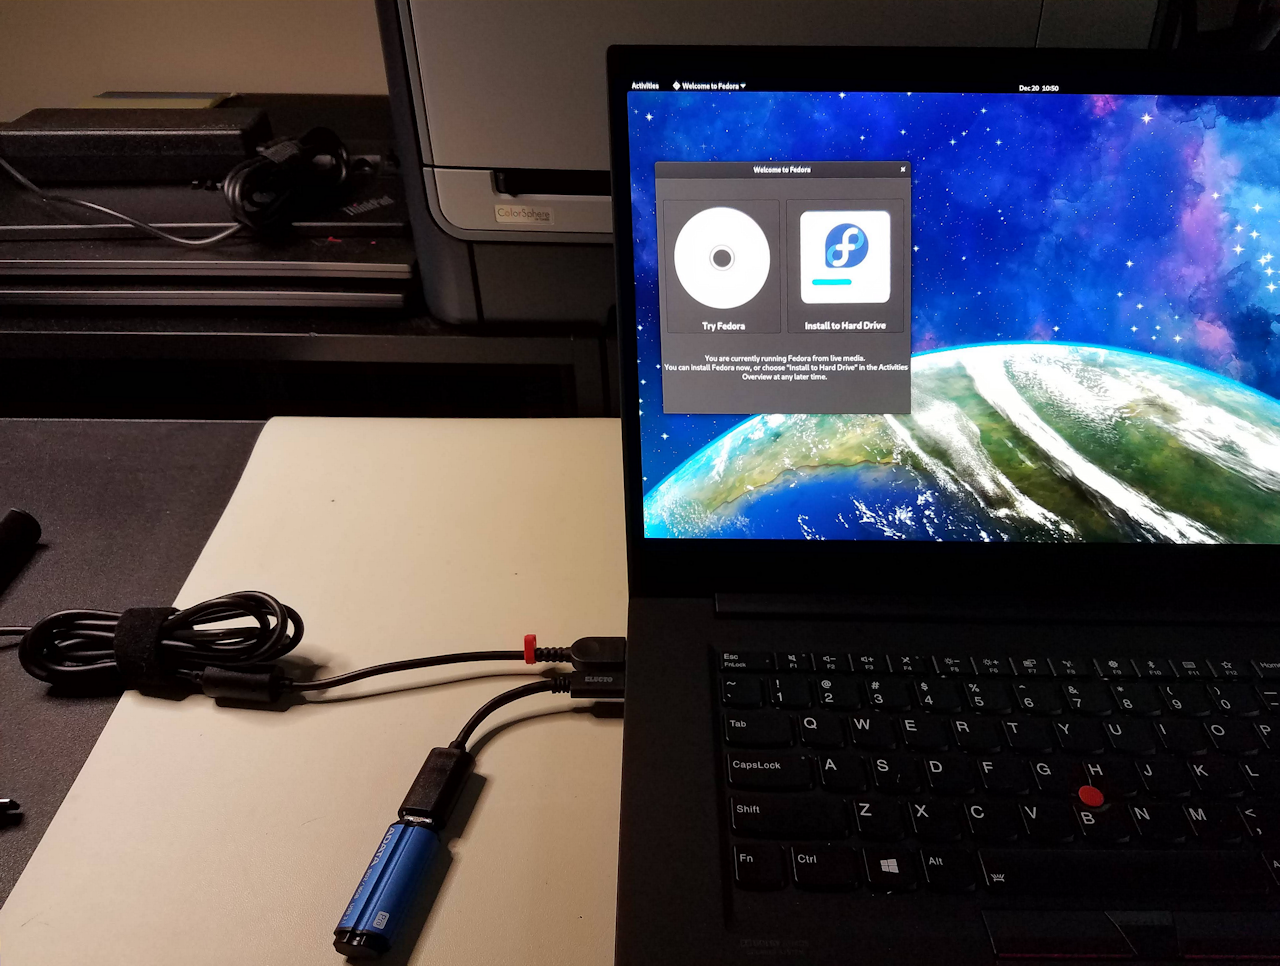
ThinkPad P1 Gen 2 Fedora Flash Try Install
From there things go (hopefully) as expected: select language, select the target drive, reclaim space (if not already made available prior to the install) and proceed.
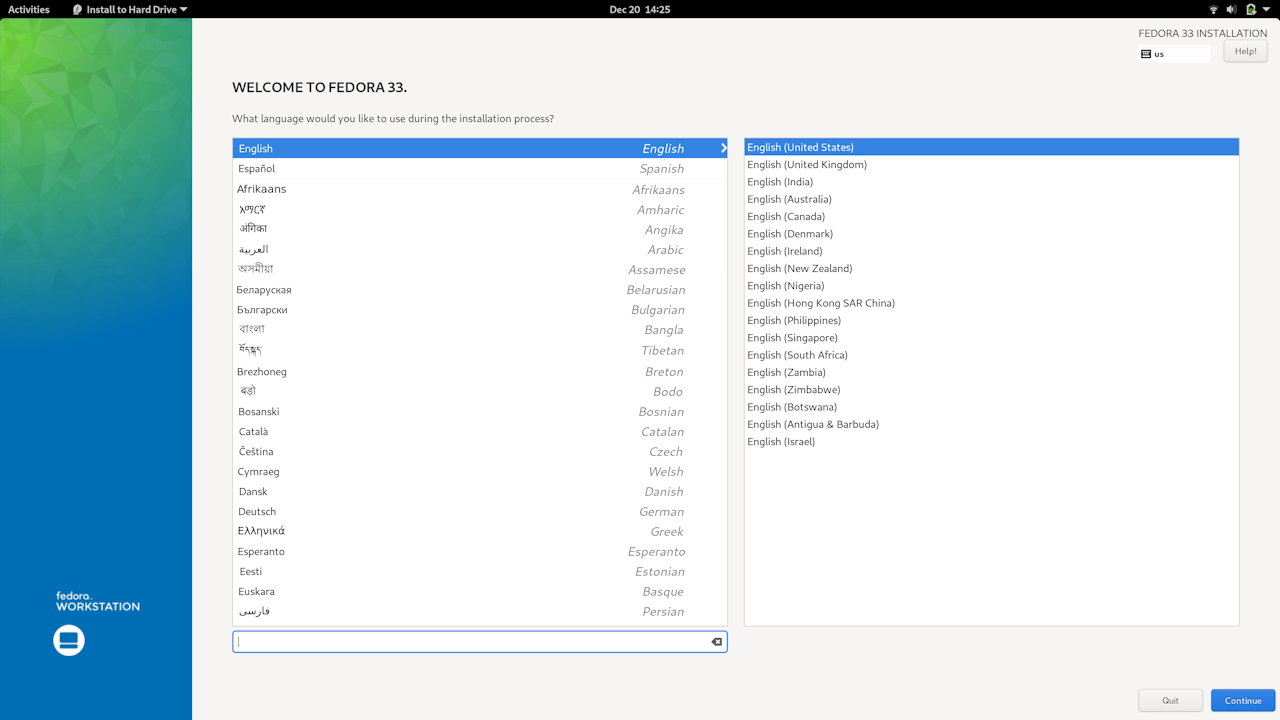
ThinkPad P1 Gen 2 Fedora Install Language

ThinkPad P1 Gen 2 Fedora Install No Disk Selected
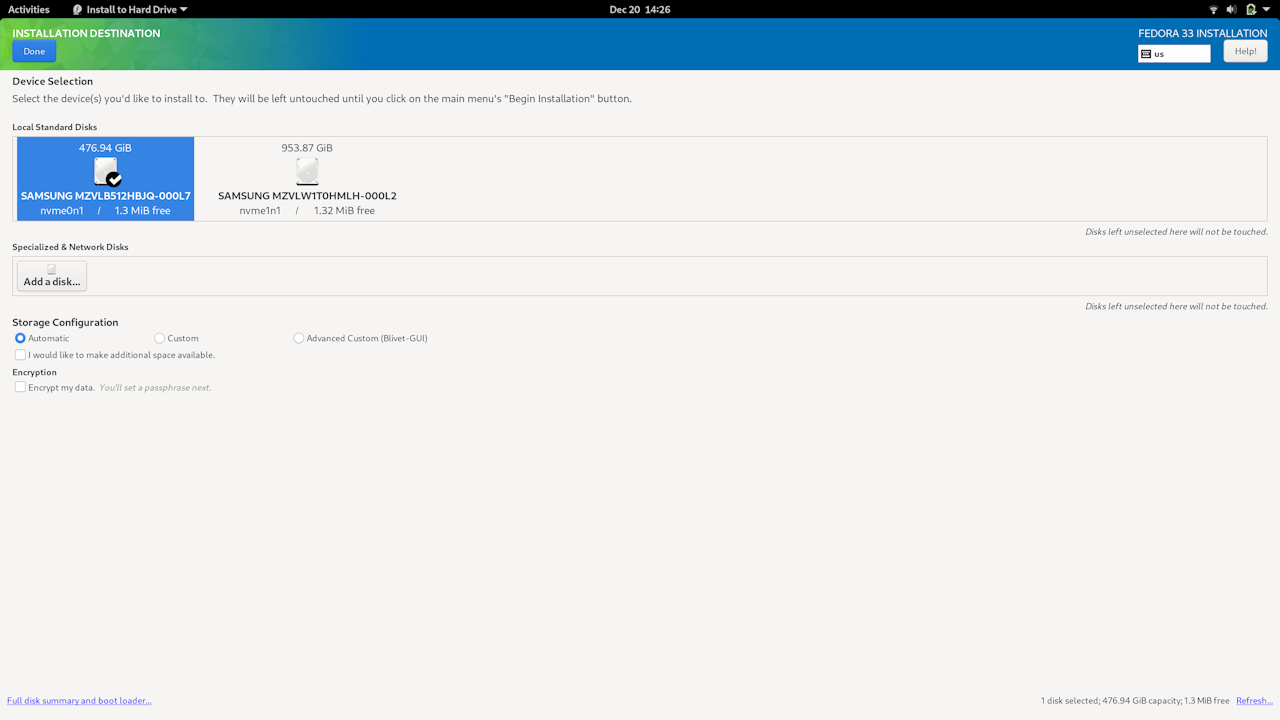
ThinkPad P1 Gen 2 Fedora Install Select Disk
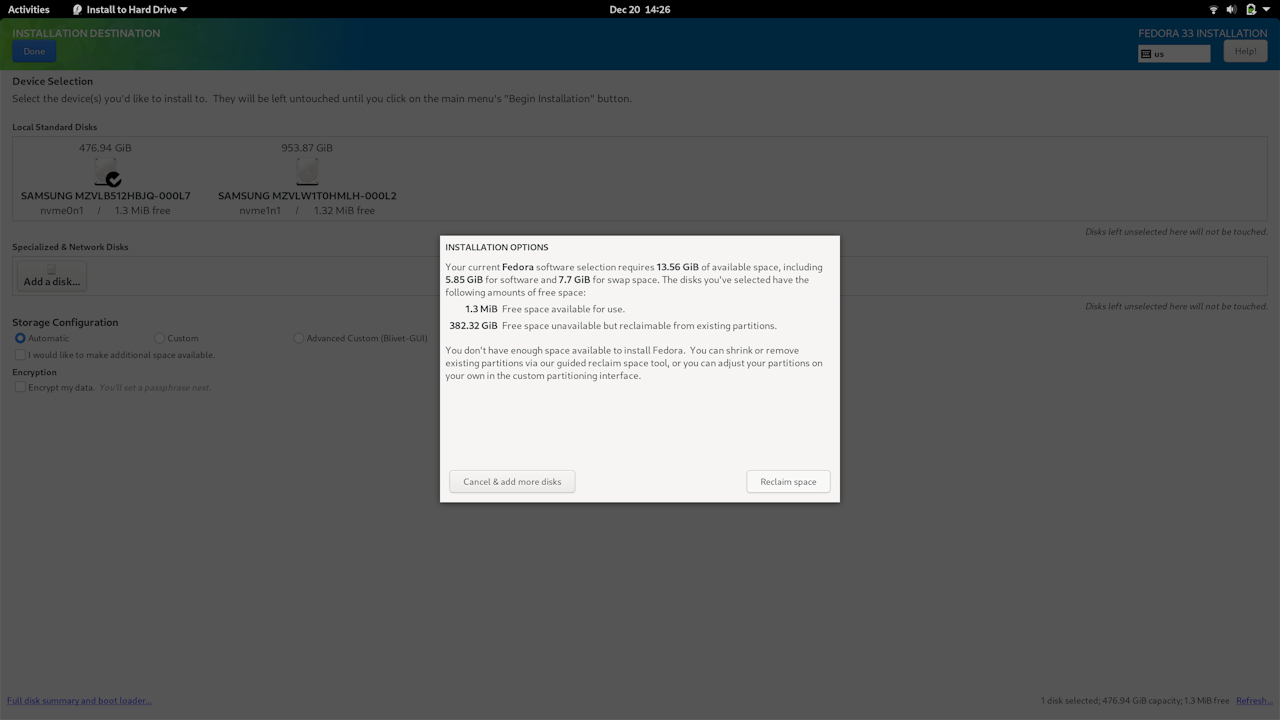
ThinkPad P1 Gen 2 Fedora Install Space Required
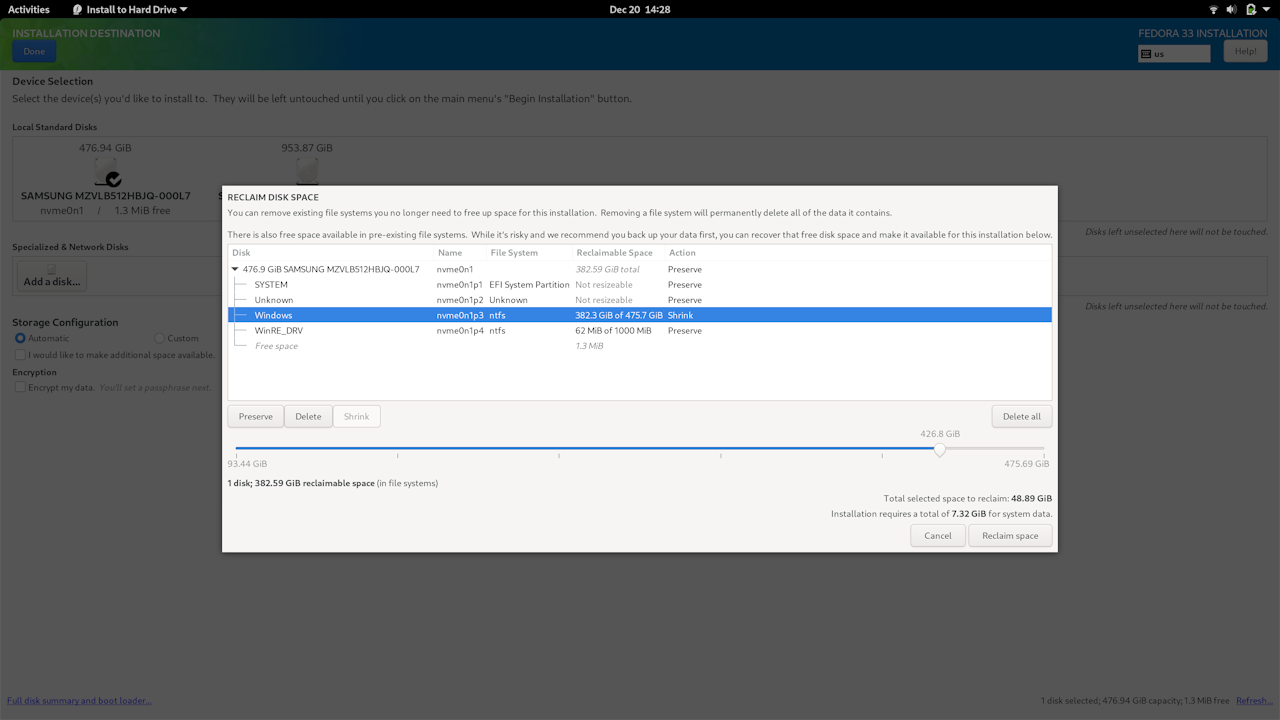
ThinkPad P1 Gen 2 Fedora Reclaim Space Slider
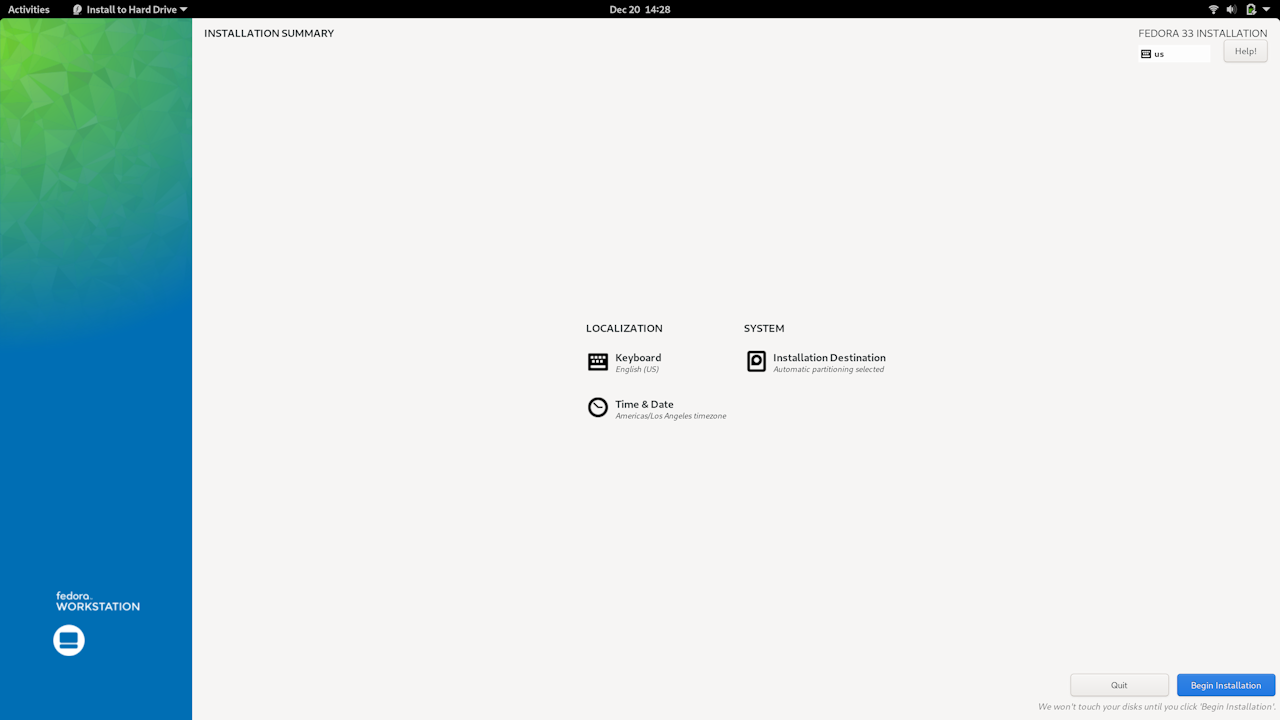
ThinkPad P1 Gen 2 Fedora Install Engage!
Well, now, that wasn’t too bad. Compared to the old days, it was a piece of cake 🙂 The drive partitions after upgrades and Fedora install:
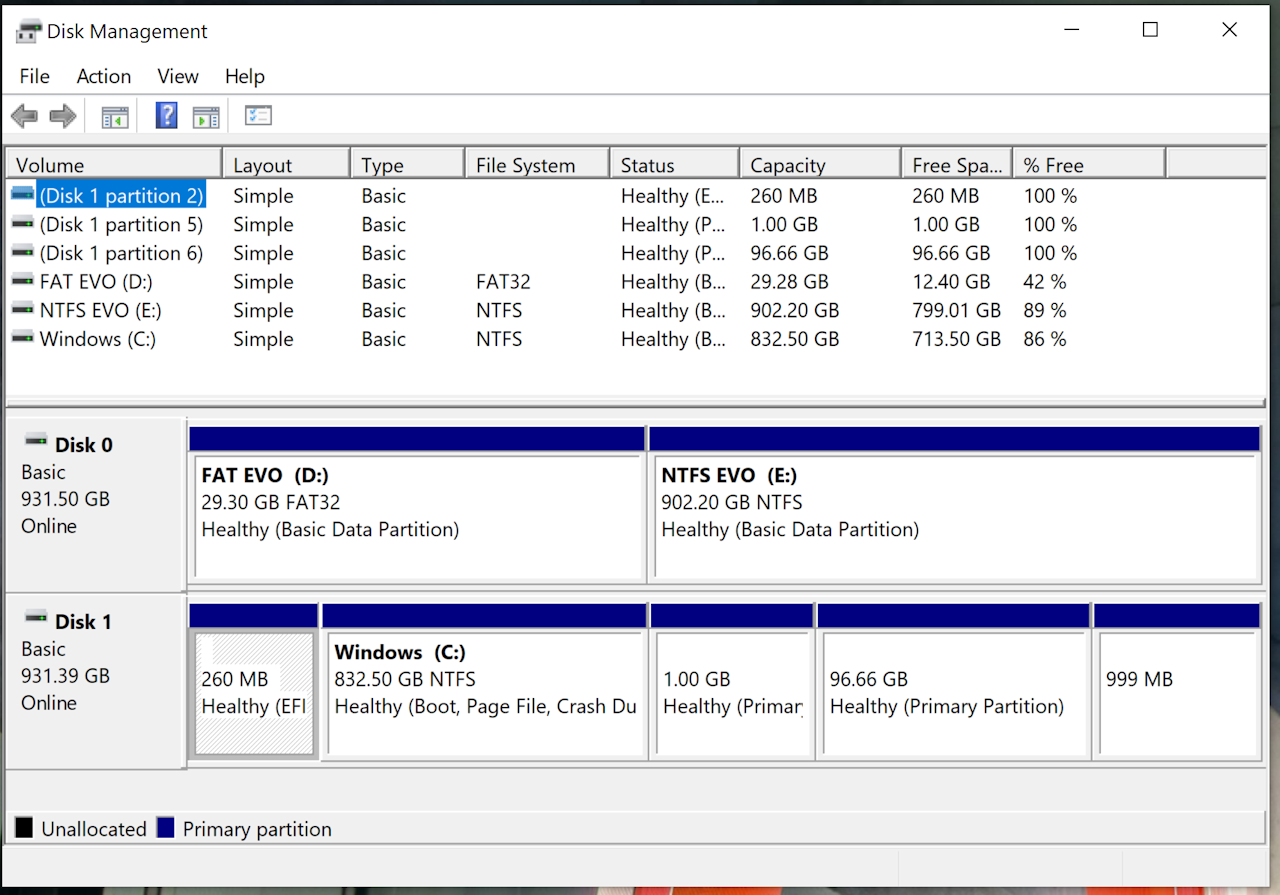
ThinkPad P1 Gen 2 Fedora Install SSDs Disk Management
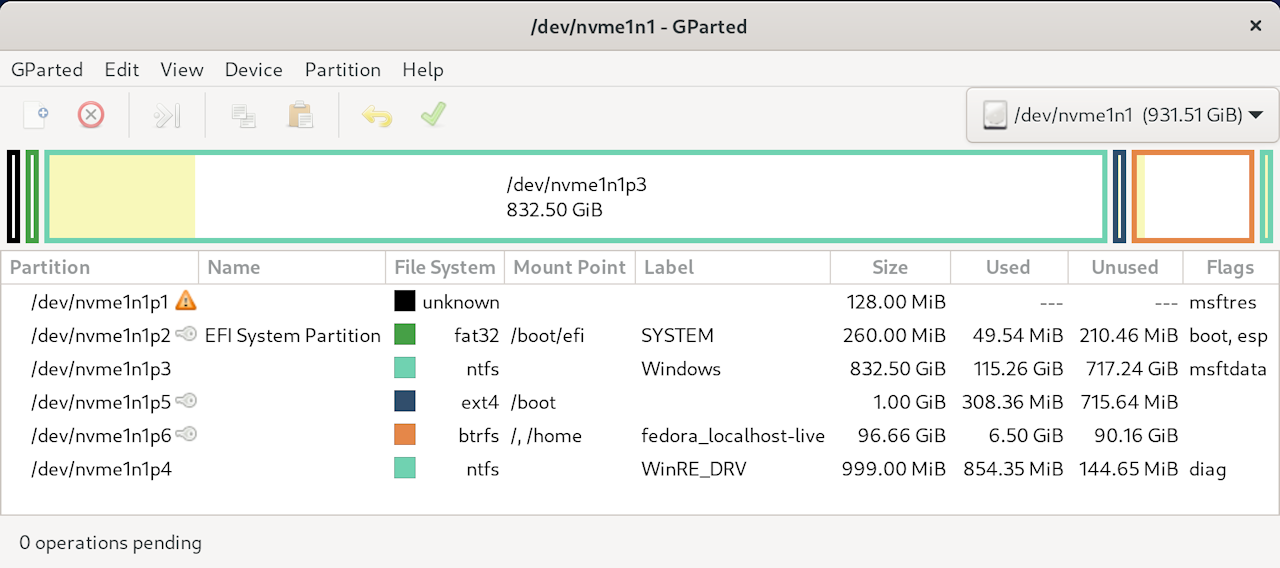
ThinkPad P1 Gen 2 Fedora Install Primary SSD GParted
Fedora should now be in the UEFI boot menu available via F12 at boot time. This image is after the boot order has been changed – see below.
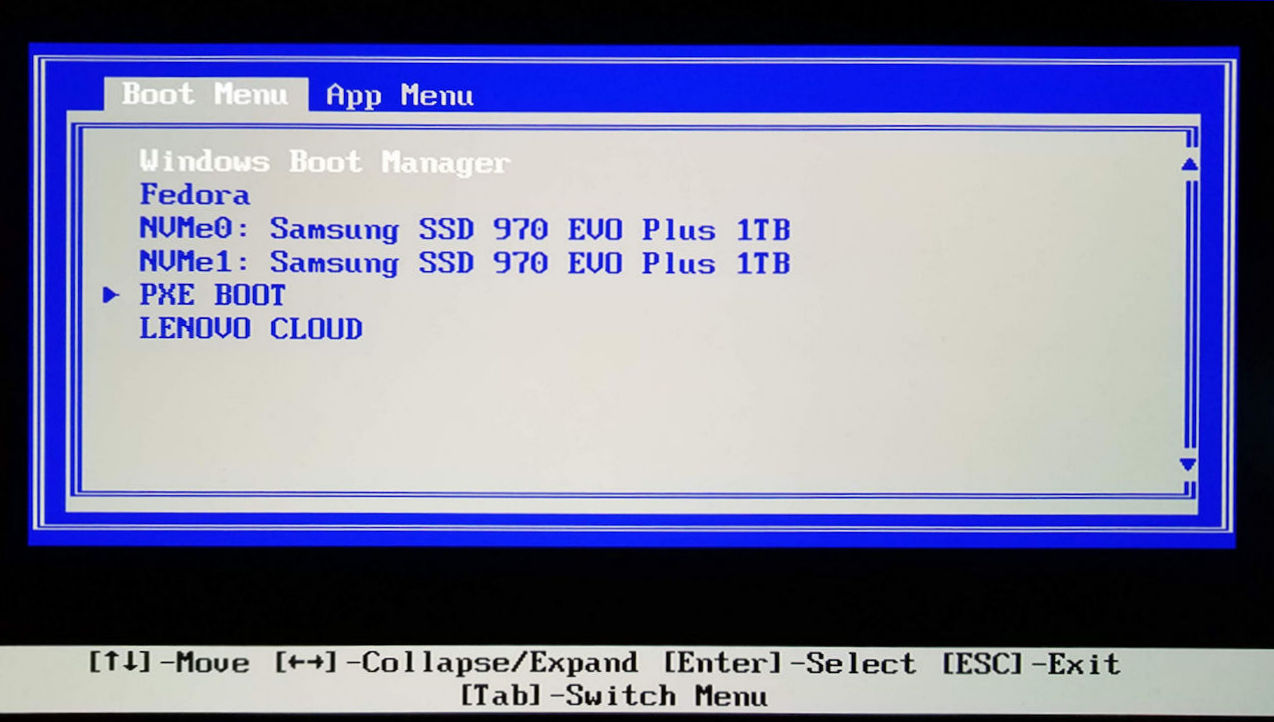
ThinkPad P1 Gen 2 UEFI Boot Menu All Installed
BIOS setup can be accessed via the App Menu tab above, and the boot order changed if desired. Access Setup -> Startup, highlight the “>Boot” indication in the upper left, and hit ENTER. Adjust as desired, save and exit. (It’s easy to mistake that “>Boot” for a heading and not a link to the boot controls… don’t ask me how I know…)
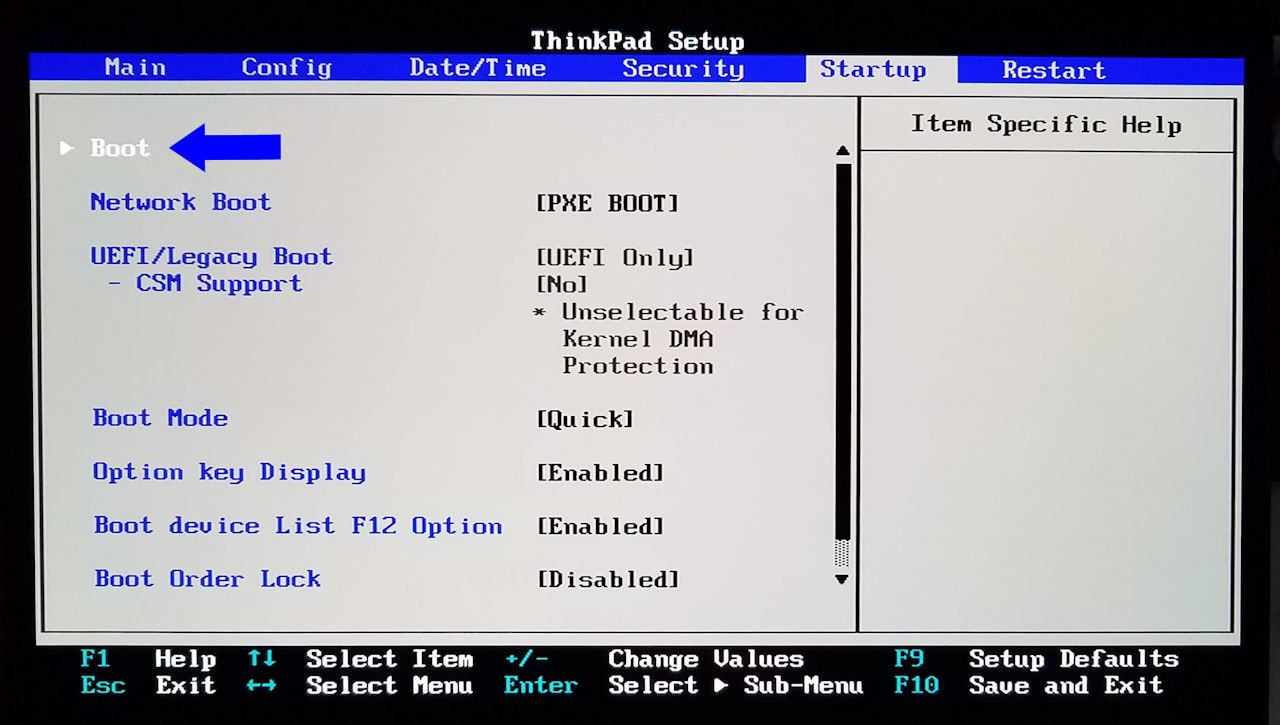
ThinkPad P1 Gen 2 UEFI Boot Order Access

ThinkPad P1 Gen 2 UEFI Boot Order Adjust
NOTE: Selecting Setup Defaults and saving – at any time when accessing and manipulating BIOS settings – will remove the Fedora boot menu entry. It’s extremely difficult to get that back. Seems like it should be as simple as booting the install media again and reinstalling grub – but no. At least, not that I’ve been able to find. What I’ve seen – and tried – so far involves locating and mounting the install, doing a chroot to it, and working with that. Hoping there’s a better way. Open to suggestions.
At last… what works:
TLDR: most everything, at least the basics. This is only a quick run at the fundamental stuff, and only the briefest of tests, but so far it all looks good, with a couple of quirks. Suspend and resume (sleep) work. Thankfully, this is not a Modern Standby machine. TrackPoint, touchpad, touchscreen: check. Microphone and speakers: check.
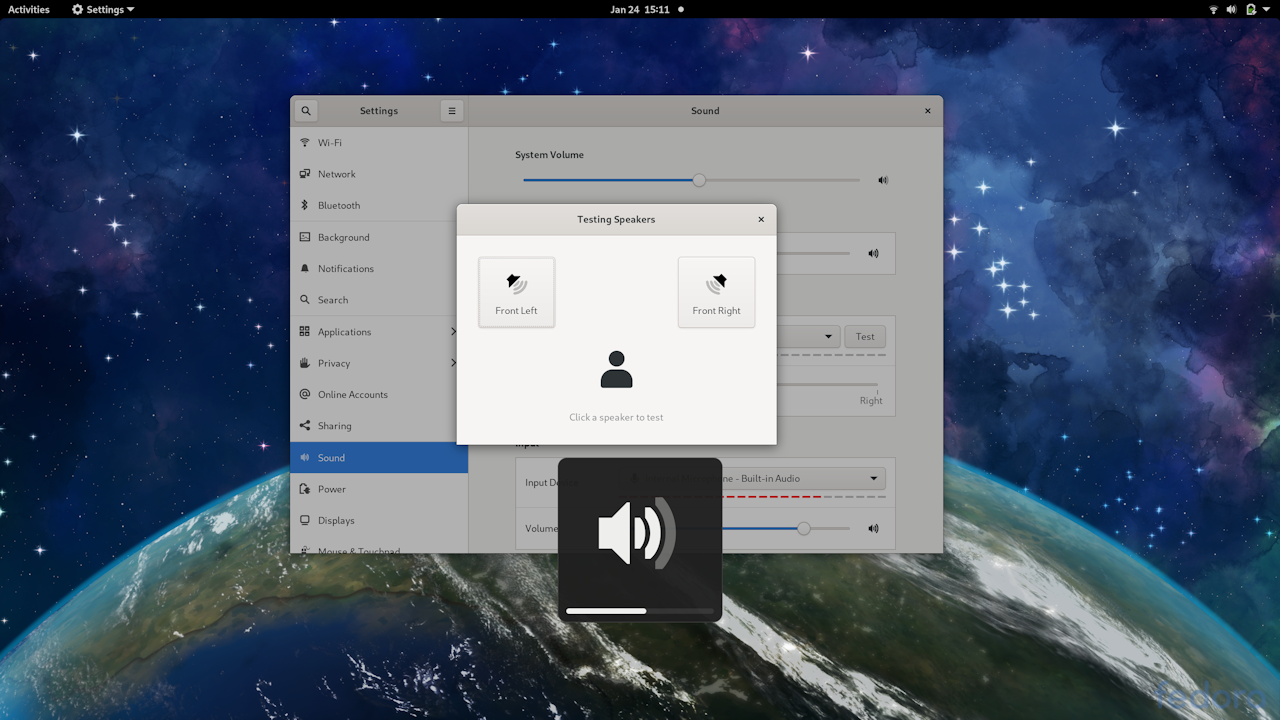
ThinkPad P1 Gen 2 Fedora Install Sound
Camera: yes, but make sure the primary camera is selected, and not the IR camera.
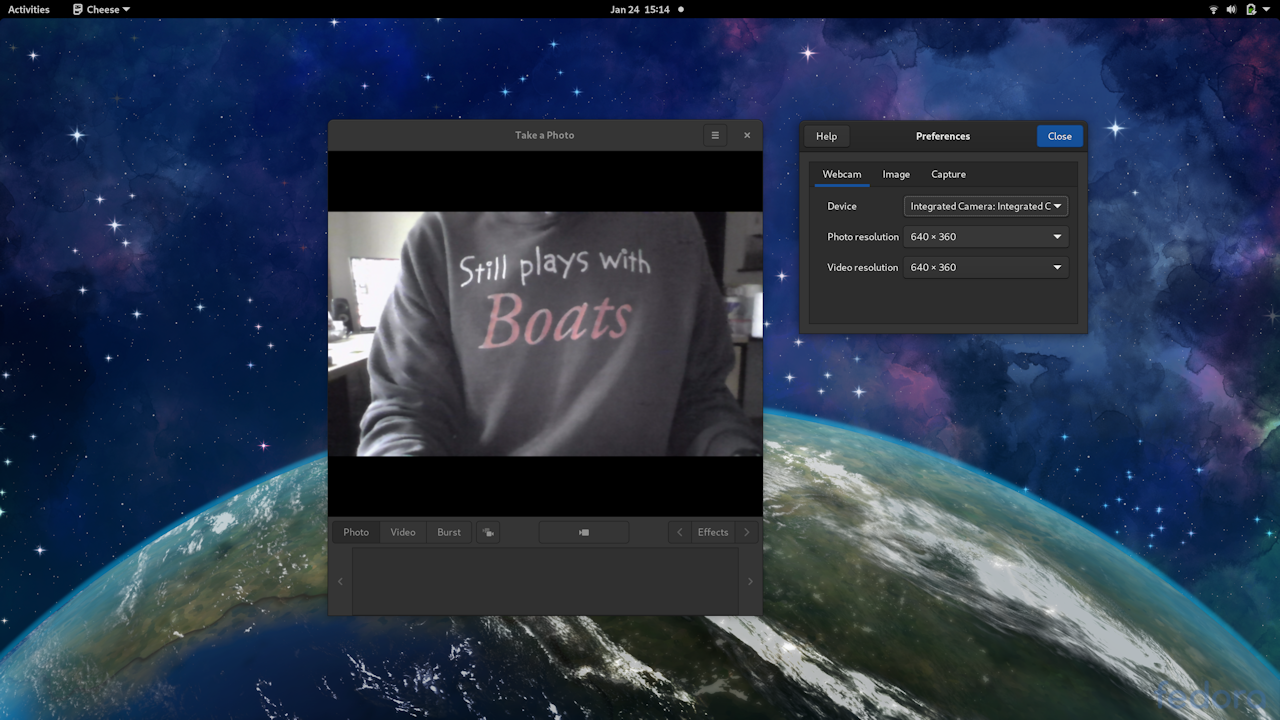
ThinkPad P1 Gen 2 Fedora Install Camera
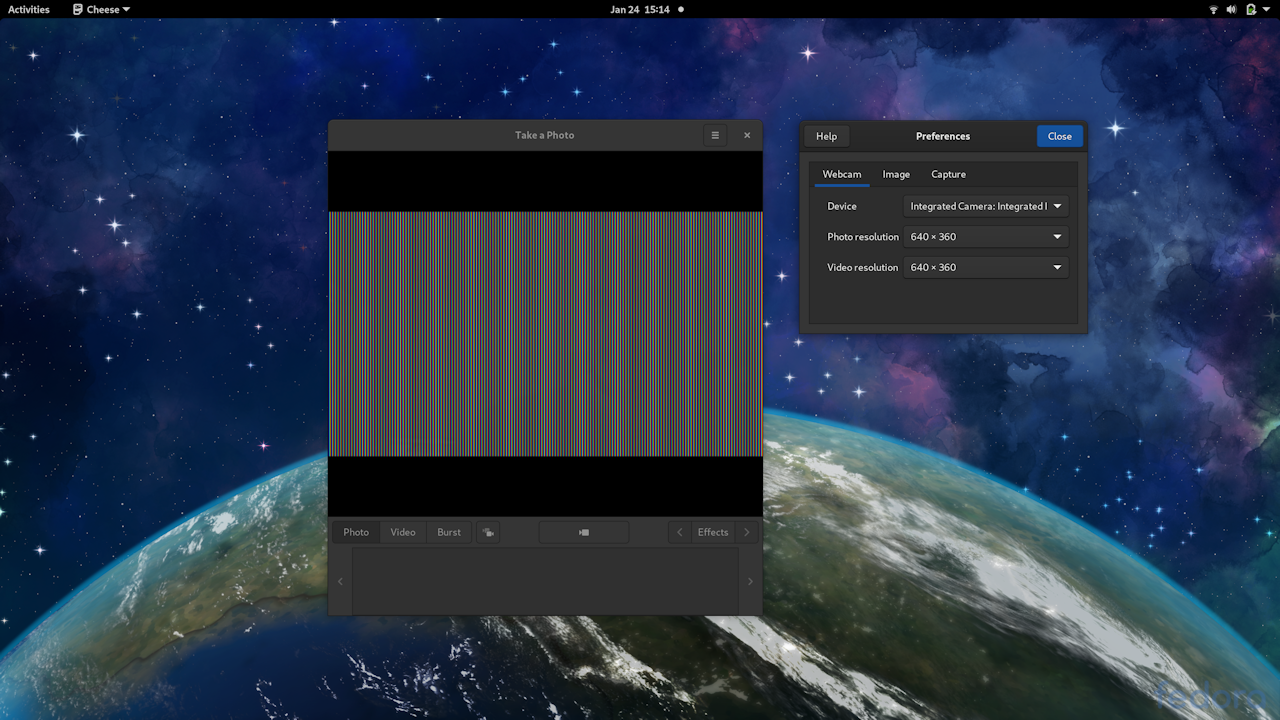
ThinkPad P1 Gen 2 Fedora Install IR Camera
Bluetooth: check – X1 ANC phones connect and sound fine.
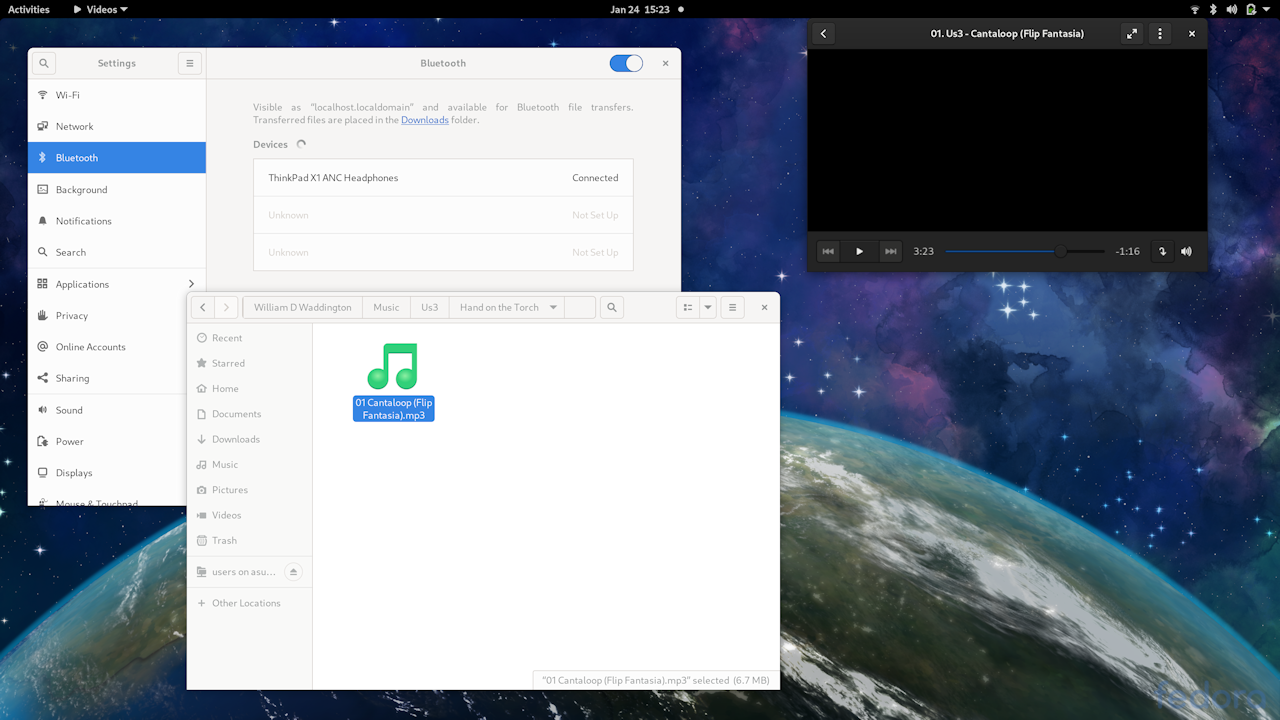
ThinkPad P1 Gen 2 Fedora Install Bluetooth
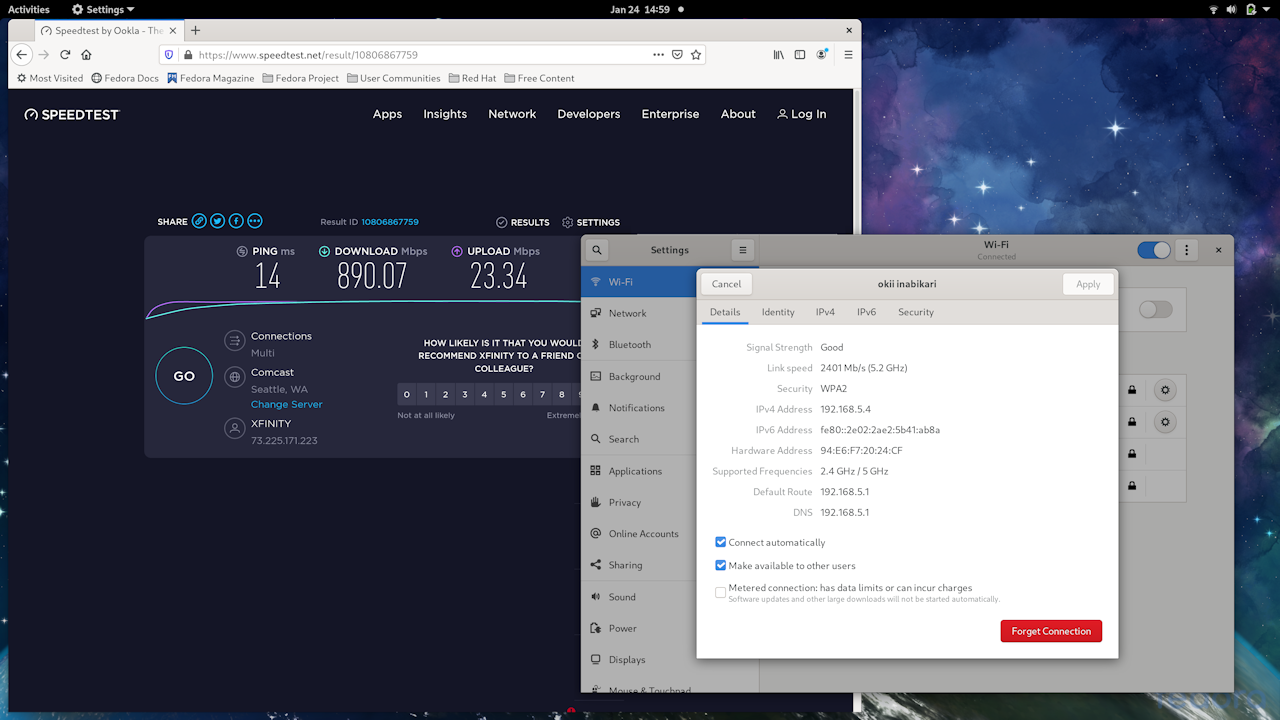
Wifi: yes, but… Hooks up in AX mode and download speed is excellent. Upload is about half the 40mbps my cable provides. Oddly – or troublingly – it’s 40 in Windows, and both Live Ubuntu and Live Fedora. It’s just this installed setup that’s slow – perhaps after driver updates. Reported link speeds are all over that map – even when download speeds are excellent – in all Linux versions I’ve tried, so I don’t trust that.
 Can access the local Windows partition and Windows shares over the network.
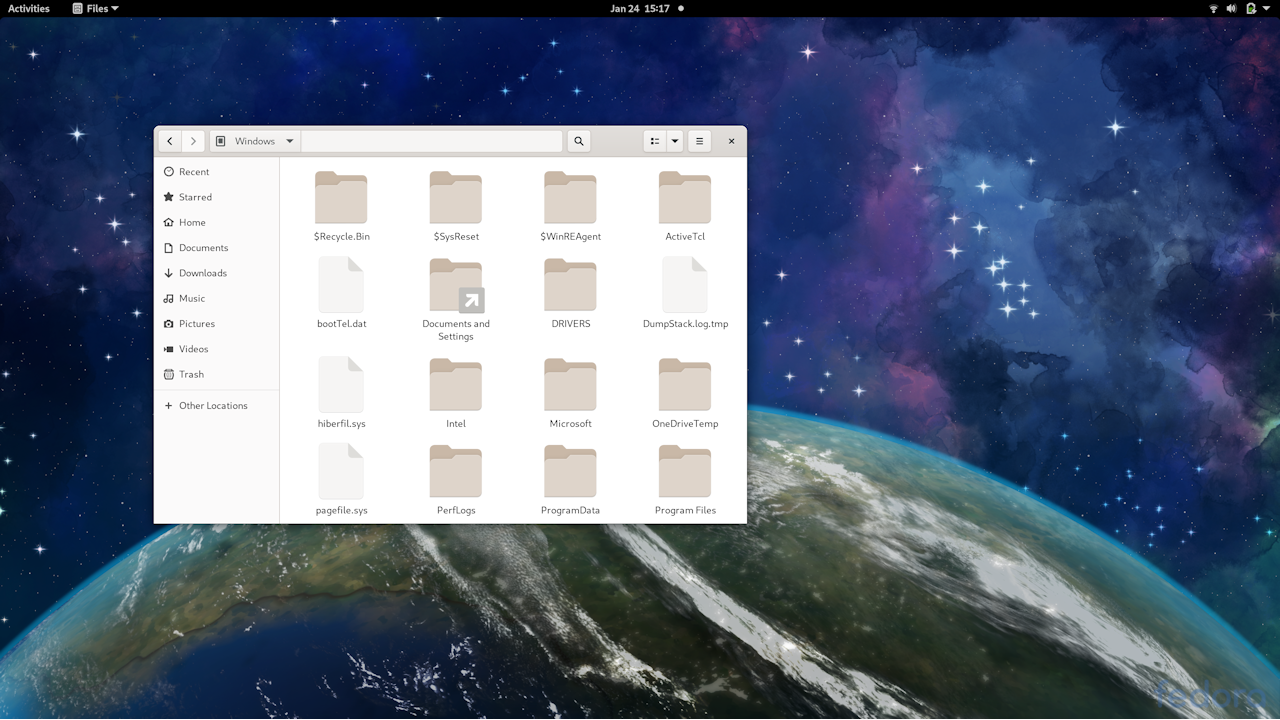
ThinkPad P1 Gen 2 Fedora Install Local Windows Partition
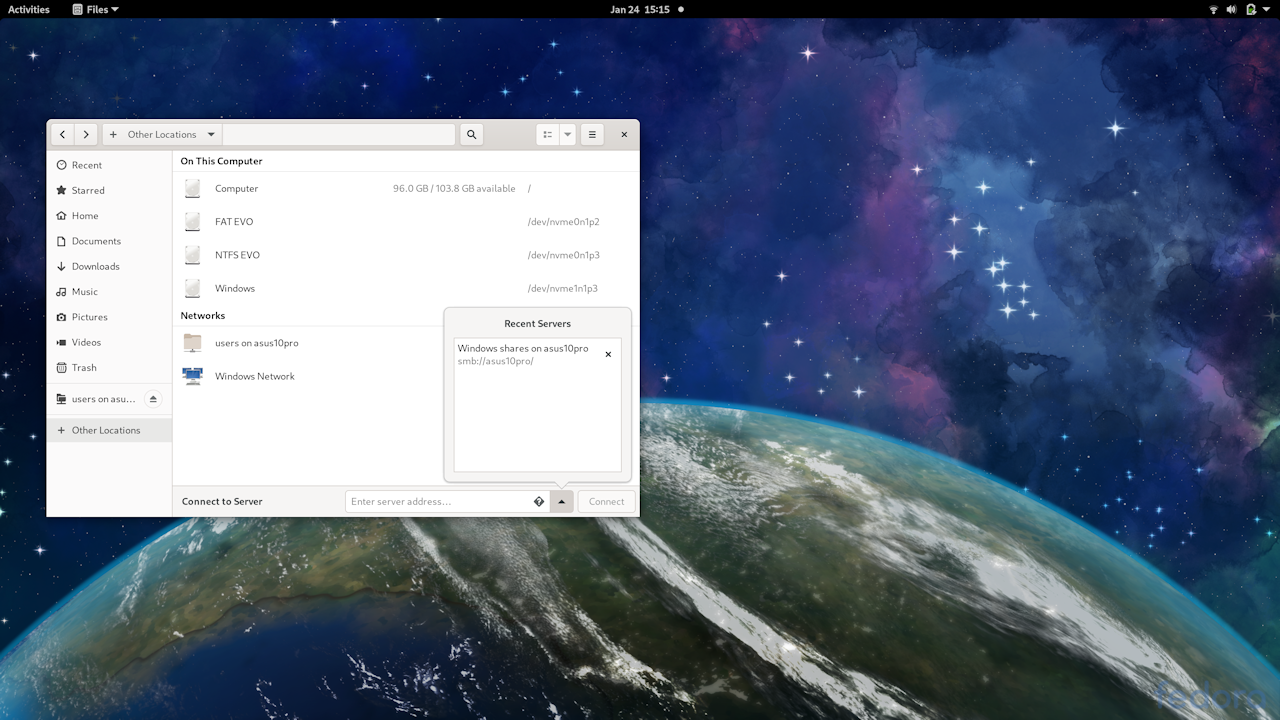
ThinkPad P1 Gen 2 Fedora Install SMB Server
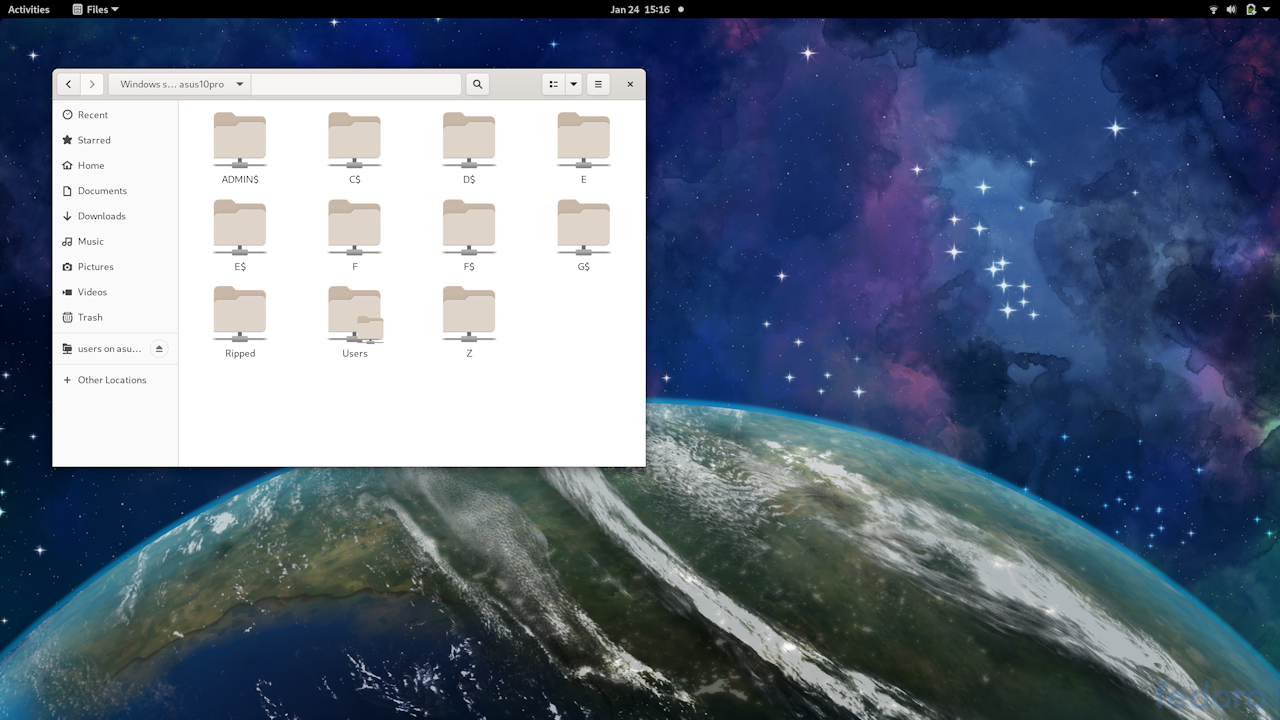
ThinkPad P1 Gen 2 Fedora Install SMB Files