
OS installers and live CDs
Once the flash drive is partitioned and formatted, all that remains to create a Windows installer or live Linux “CD” is to copy the files – and install the boot loader if necessary.
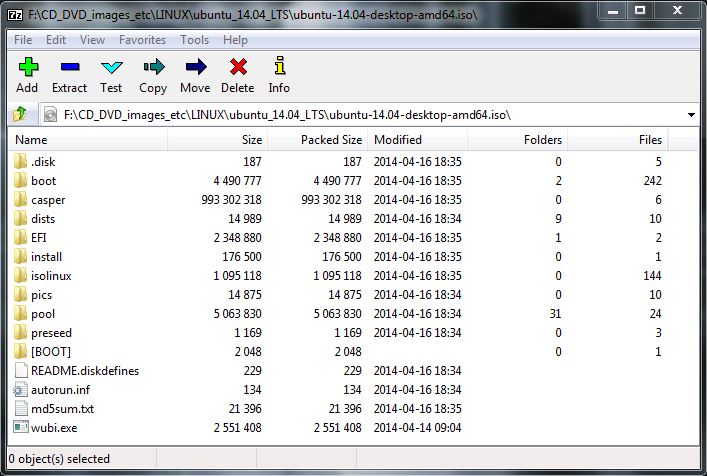
UEFI is the easiest for any OS since it doesn’t require installing a boot loader to the flash drive. Just format a flash drive with a single FAT32 partition and copy the contents of an installer or live CD (or DVD) ISO to it. Copy the contents of the ISO, not the ISO file itself.
NOTE: For Windows 7, depending on the DVD or ISO used, it may be necessary to manipulate the files to get bootx64.efi into the right location (/efi/boot/bootx64.efi). This KB article from the Lenovo forums shows one way to do that:
Similar procedure for Win 7 legacy: format NTFS and coy the DVD contents or extract the ISO contents to the flash drive. DISKPART will have already installed the required boot sector legacy boot code so an explicit boot loader install isn’t needed. Other legacy boot applications (Linux, for instance) will require manually installing a boot loader. I tend to use grub2 – that’s described later.
NOTE: to actually use a Windows 7 flash drive installer in UEFI mode, use Win 7 SP1 and enable CSM support and disable secure boot in BIOS.
NOTE: Later 64-bit Ubuntu versions – from 12.04 on – will boot in UEFI mode with secure boot enabled or disabled. More about secure boot later.
7zip is my current favorite archiving tool for extracting ISO contents: 7-zip.org Here’s what it looks like in use.
Pingback: FOB Story II | GeezBlog